Mixpanel
Mixpanel is a product analytics platform.
The Userflow-Mixpanel integration enables you to analyze how users interact with your flows/checklists, and correlate it to other behavioral analytics that you collect in Mixpanel.
- What you can do with this integration
- Mixpanel projects and Userflow environments
- Setup guide: Userflow event streaming to Mixpanel
- Setup guide: Mixpanel cohort sync to Userflow
What you can do with this integration
- Userflow-generated events, such as Flow Started and Checklist Task Completed, can be continuously streamed into your Mixpanel project of choice.
- Cohorts defined in Mixpanel can be synced to Userflow for content targeting.
Mixpanel projects and Userflow environments
It’s recommended to use a separate Mixpanel project for each of your environments (Production, Staging etc.). The same is true in Userflow. This is to ensure that e.g. Staging data doesn’t pollute Production data.
A Userflow-Mixpanel integration is between a single Userflow environment and a single Mixpanel project. If you have both a Staging and a Production environment, you therefore have to run the below setup guide for both Production and for Staging.
We strongly recommend that you start with your Staging environment/project, and verify that it works as you expect, before connecting your Production environment/project.
Required User ID match for integration
To match data between users in Mixpanel and Userflow it is a requirement that you use the same user id to identify users in both platforms.
Setup guide: Userflow event streaming to Mixpanel
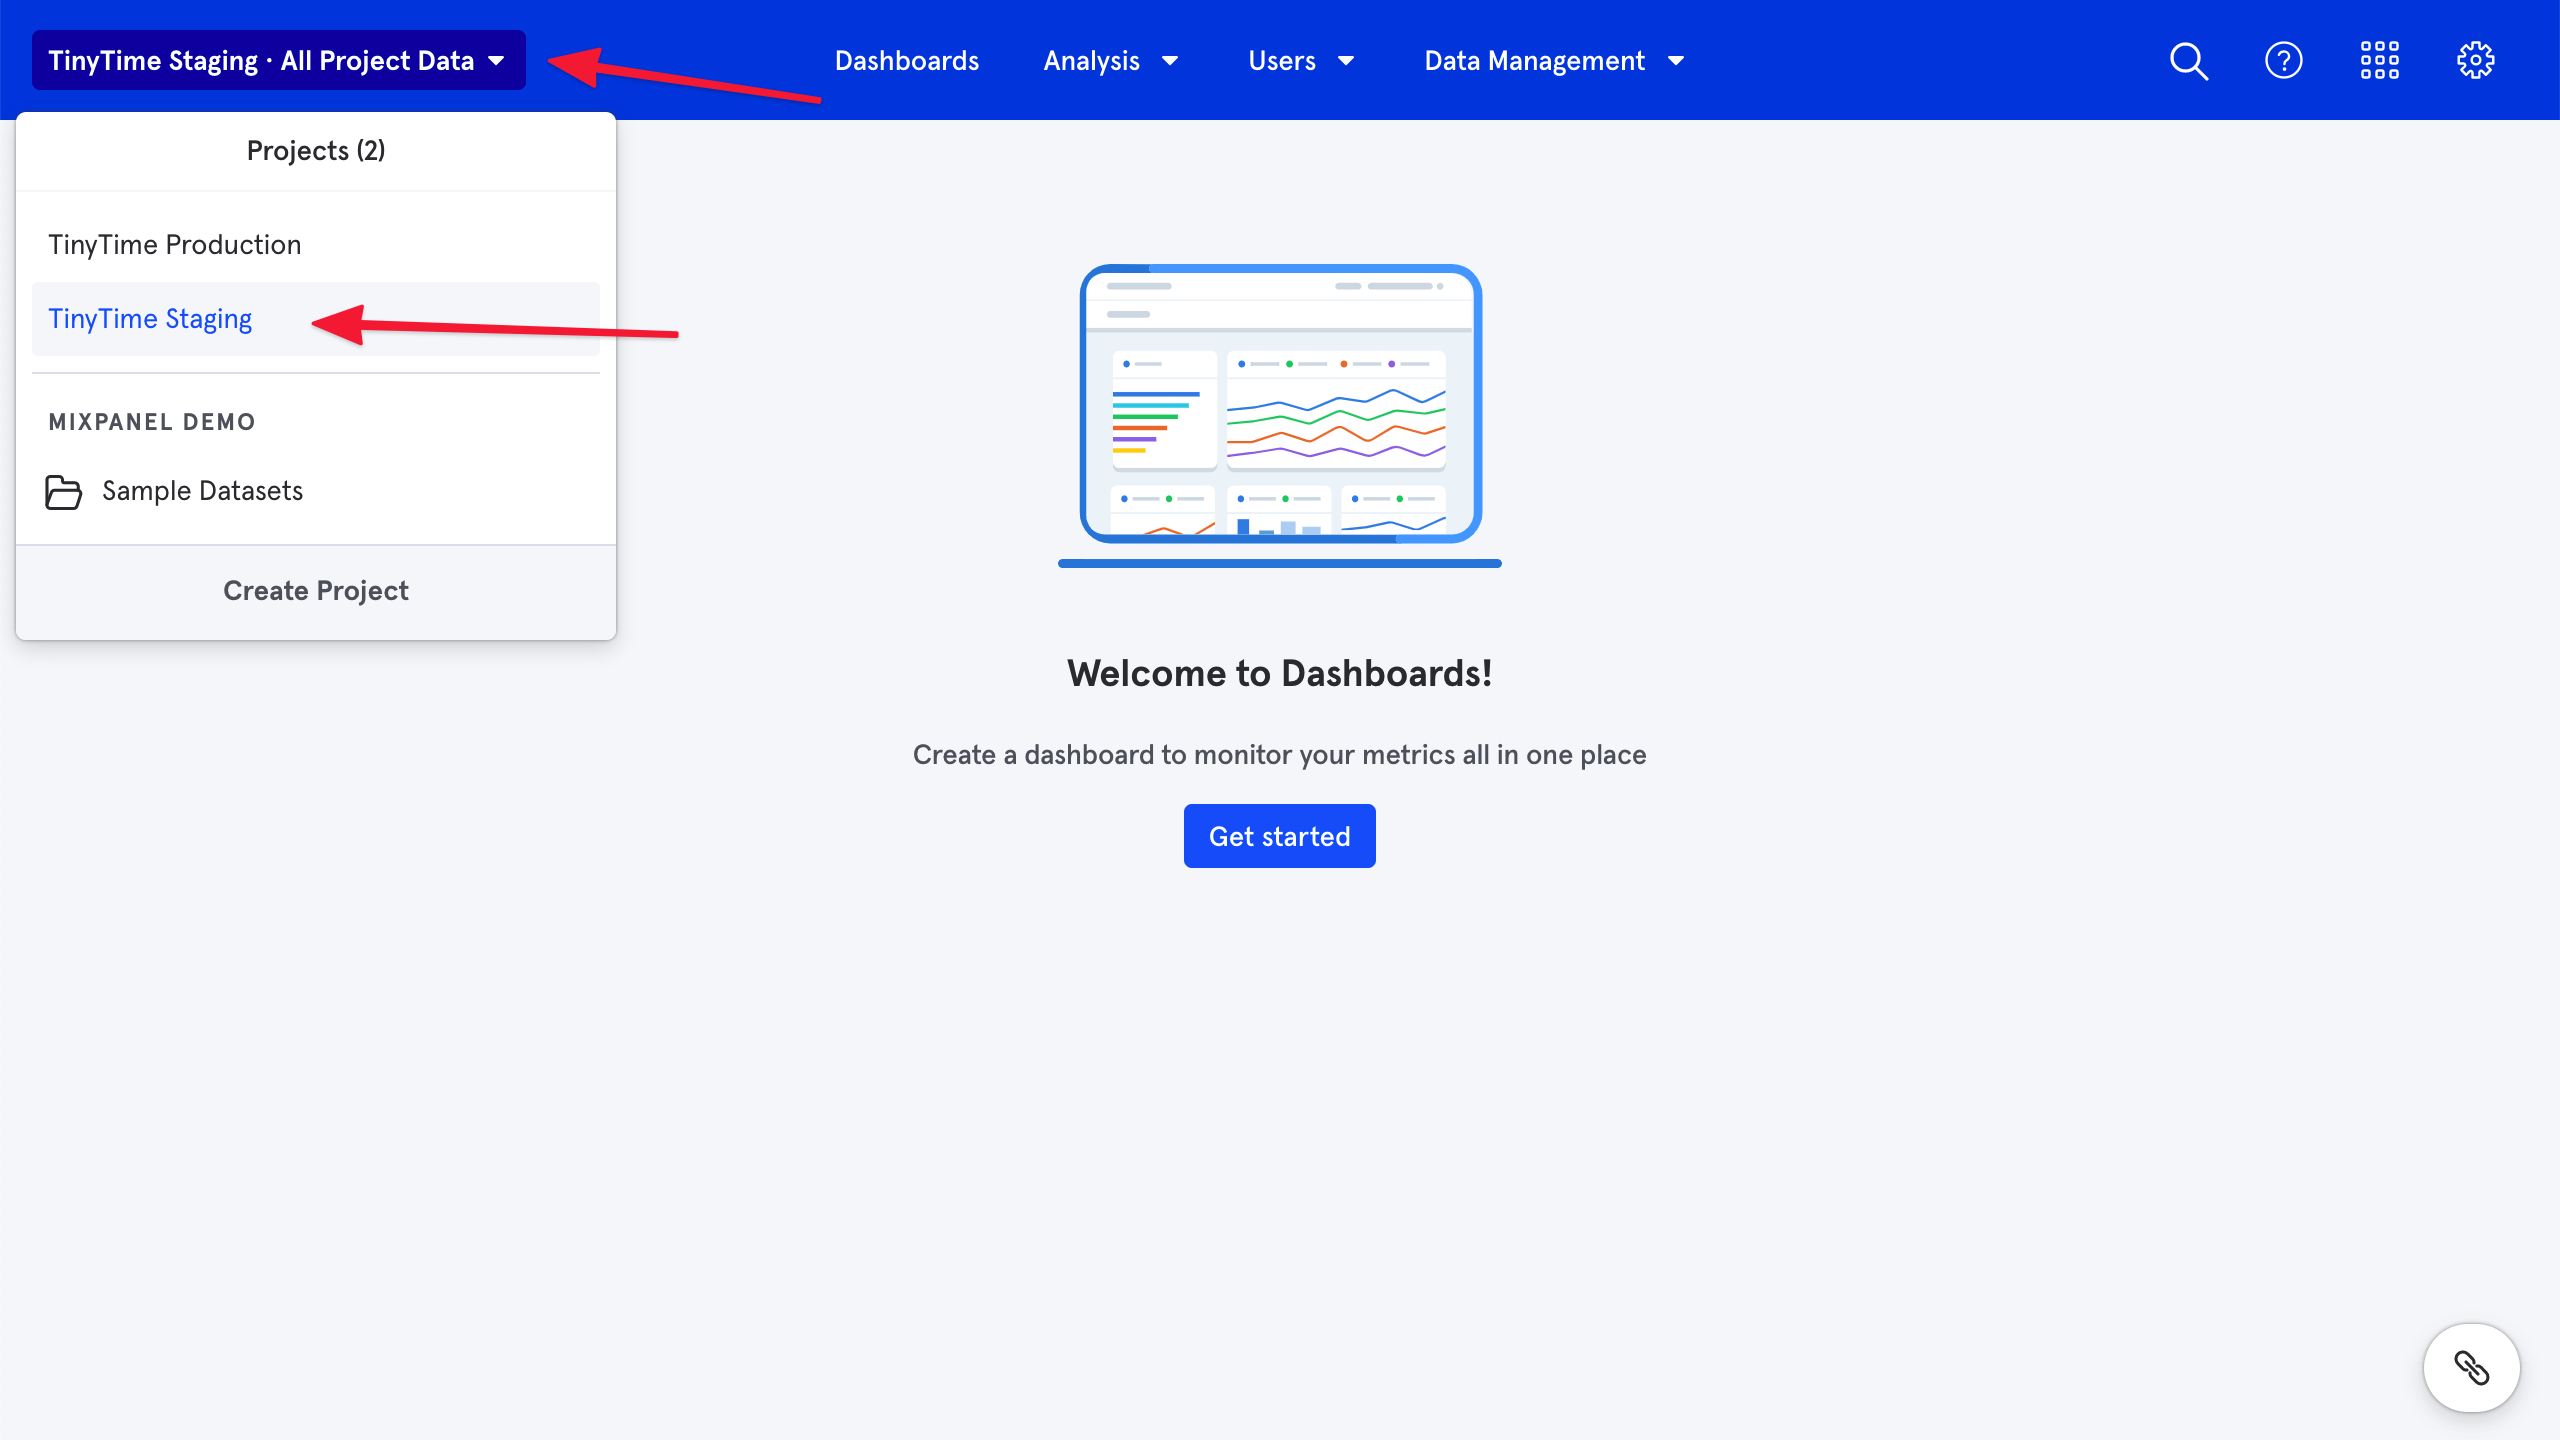
- Sign into Mixpanel and navigate to the project you want to stream Userflow events to:
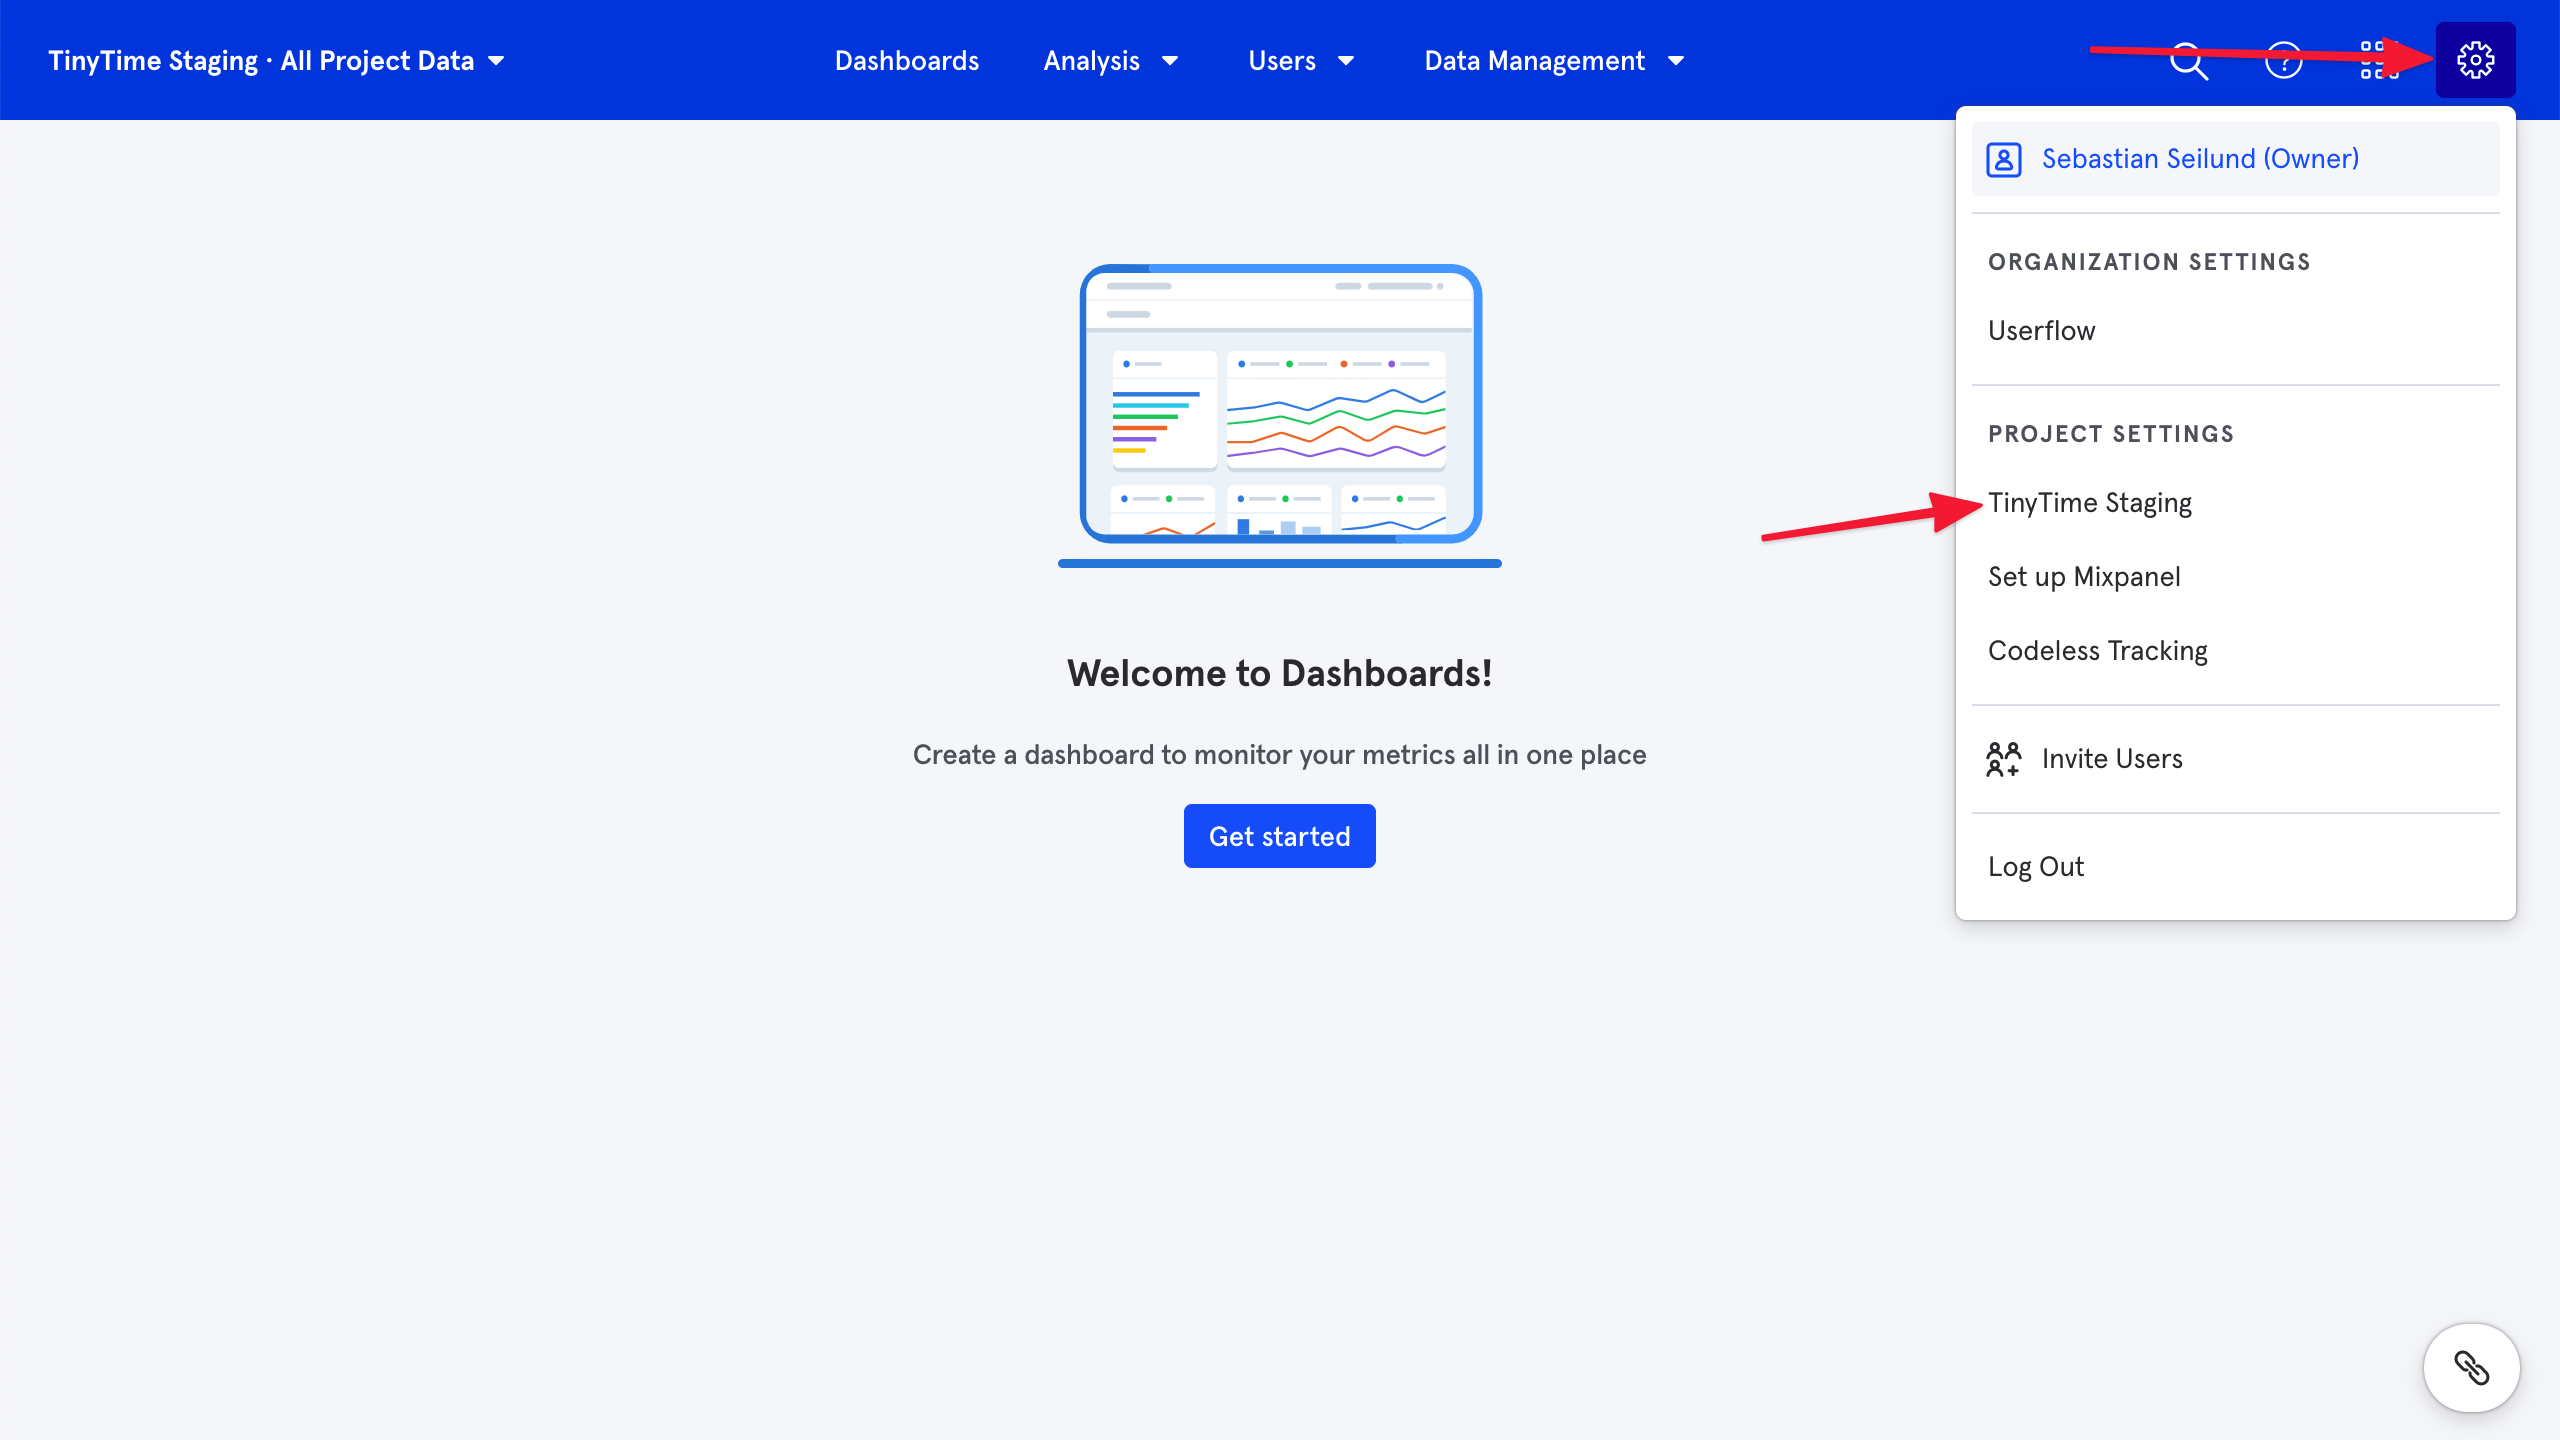
- Go to Projects settings:
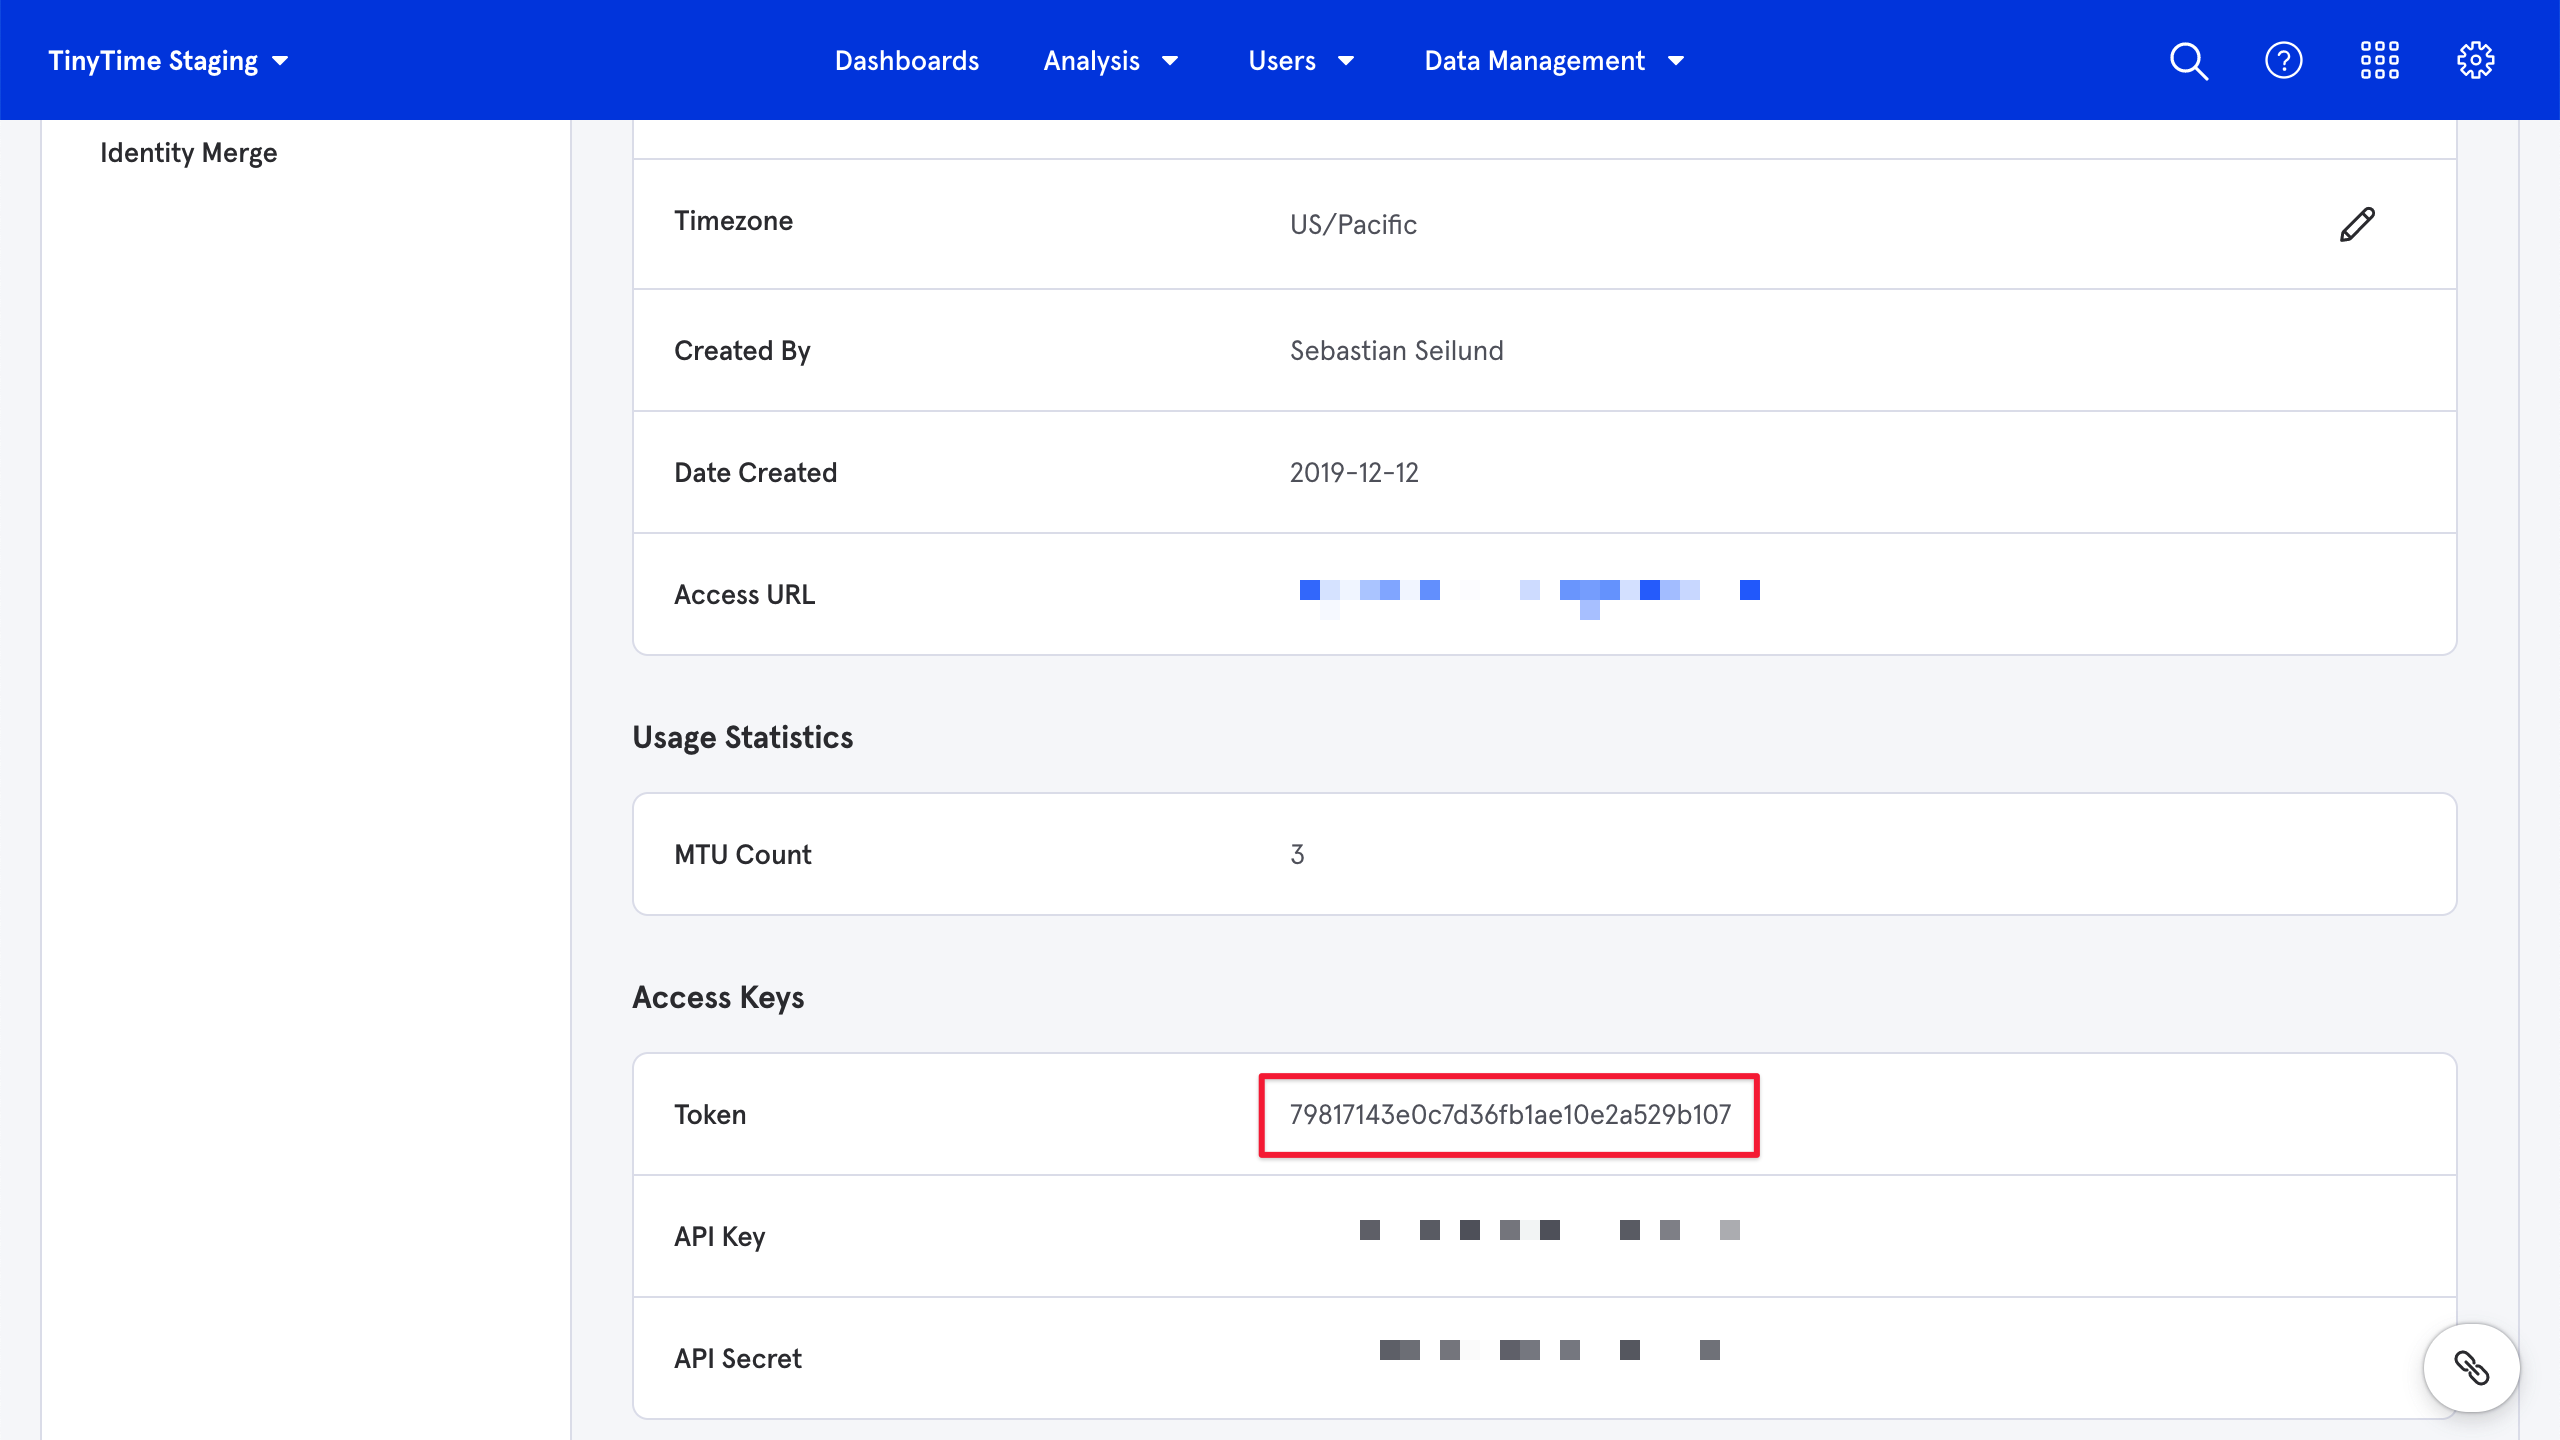
- Copy the Token (see under Access Keys):
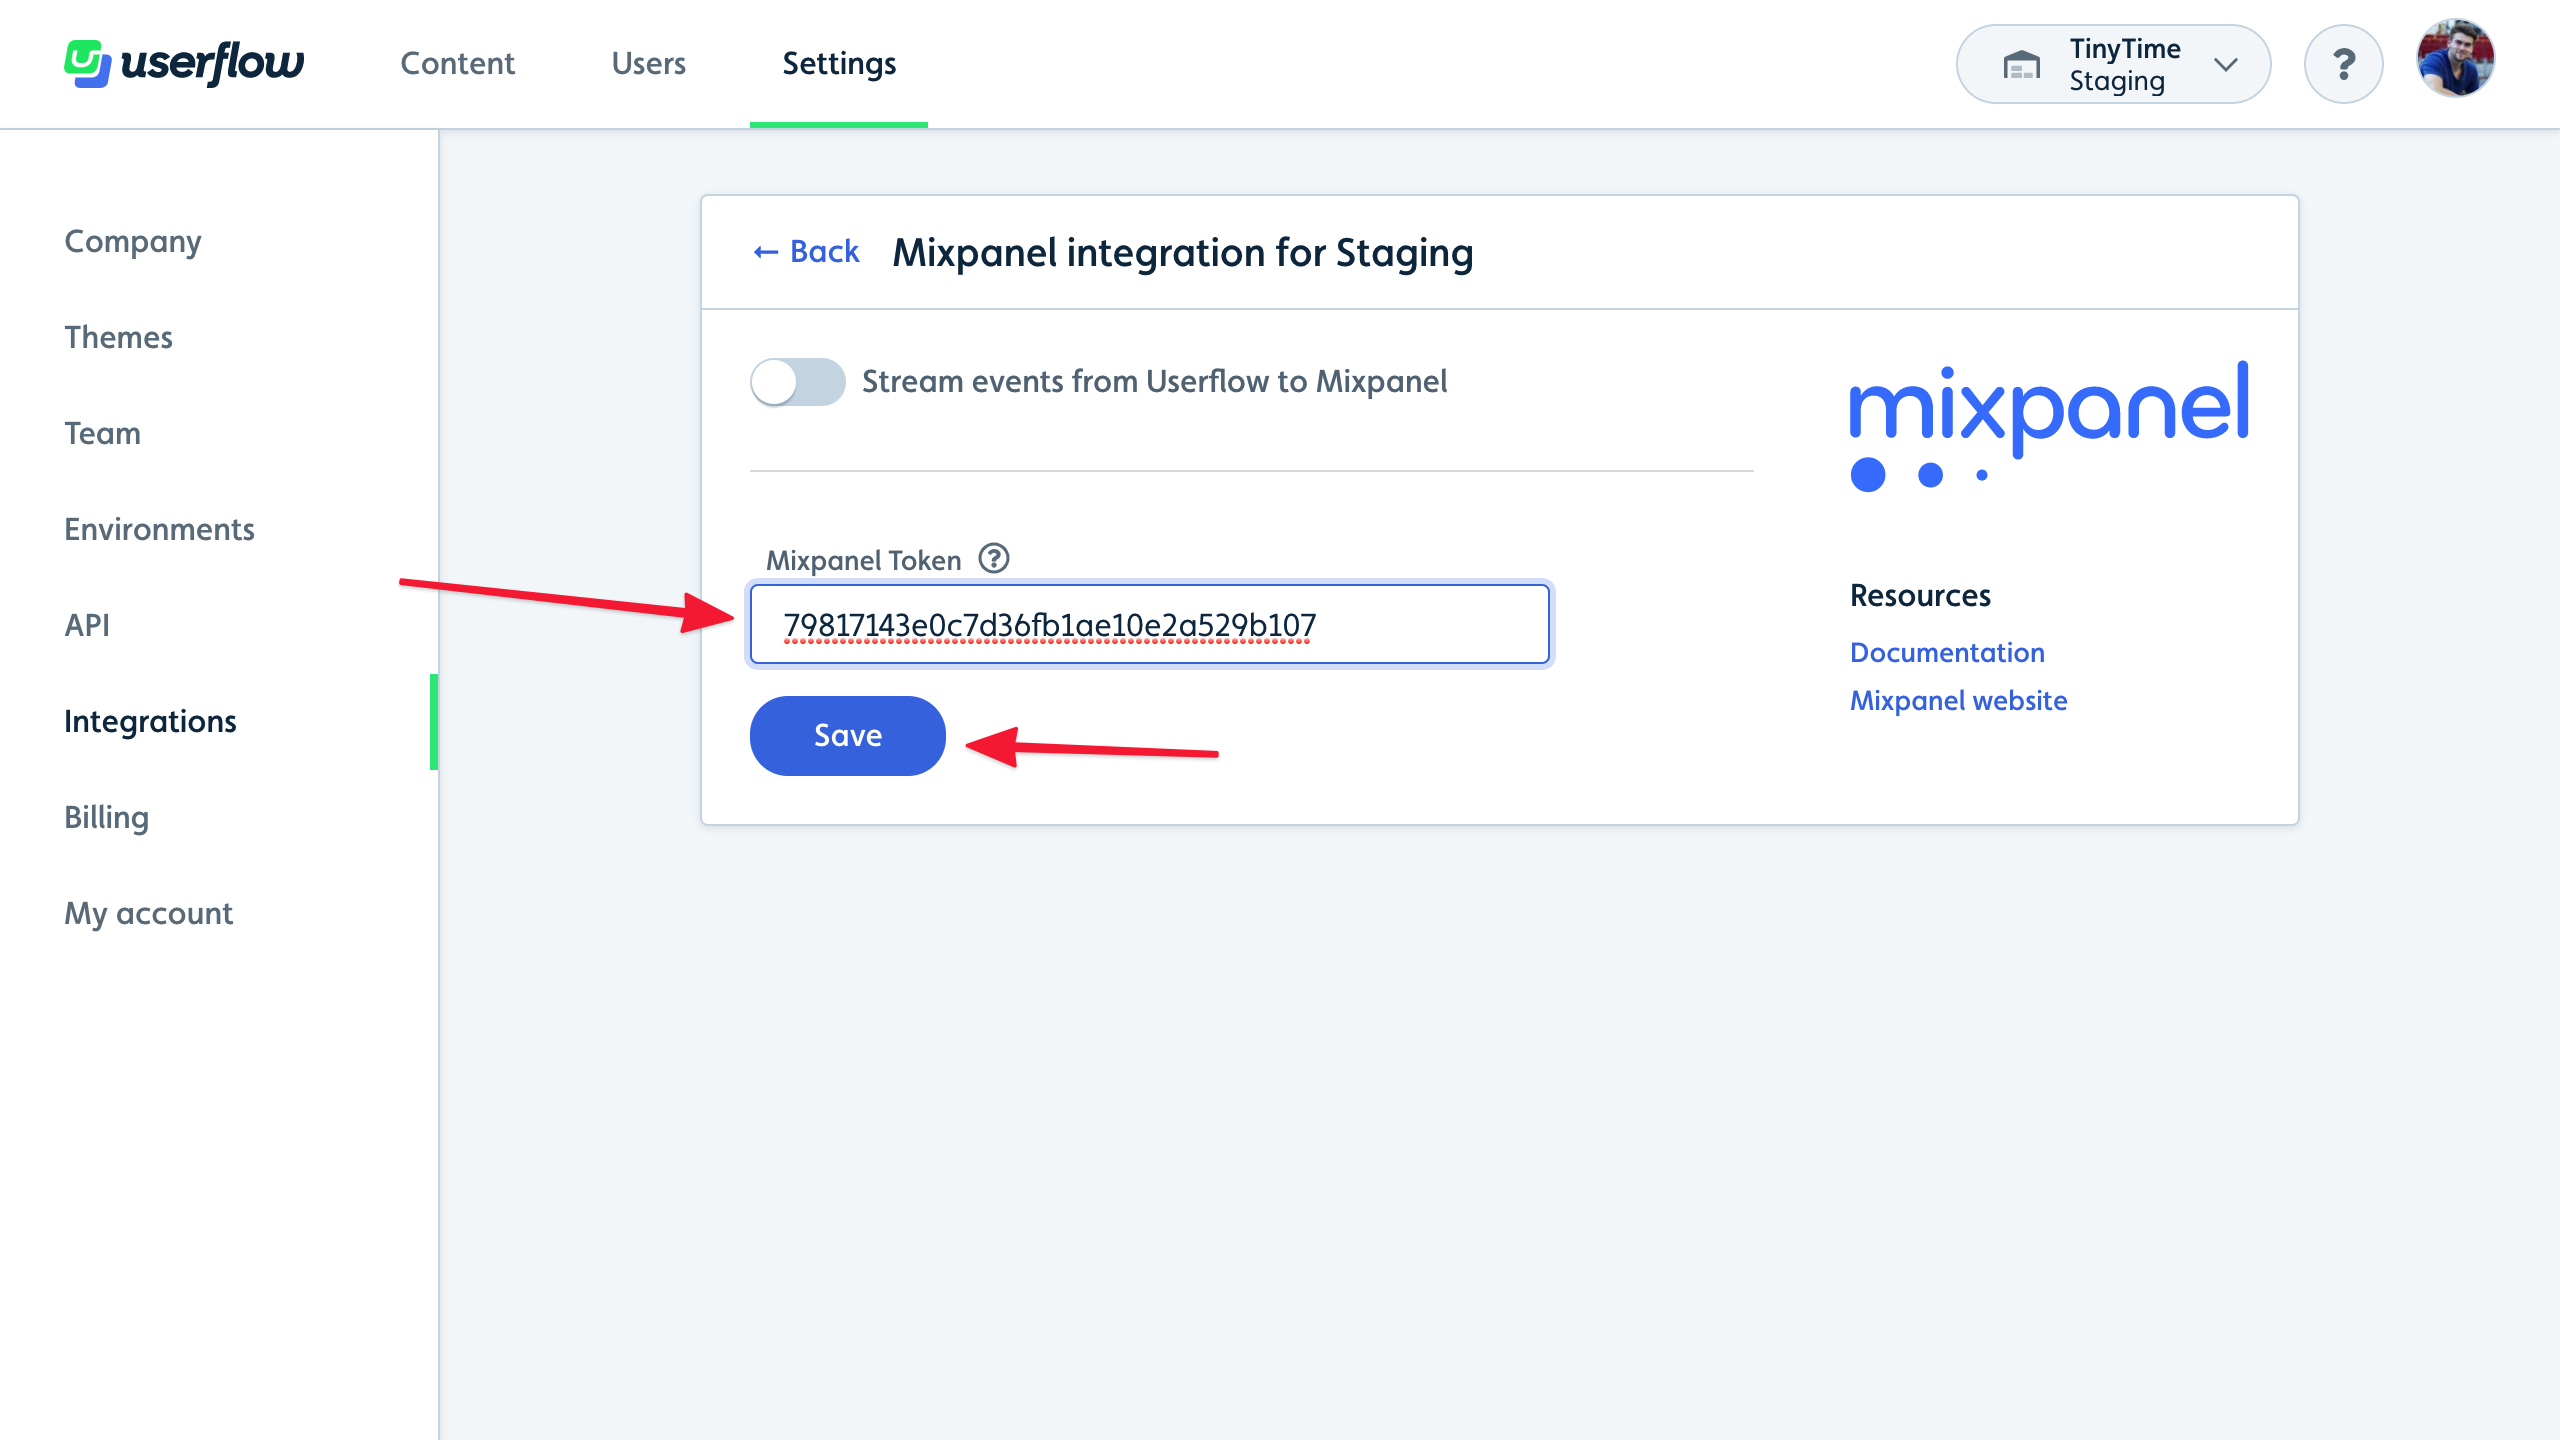
- Sign into Userflow and navigate to the environment you want to stream Userflow events from:

- Go to Settings -> Integrations. Then click Add integration:

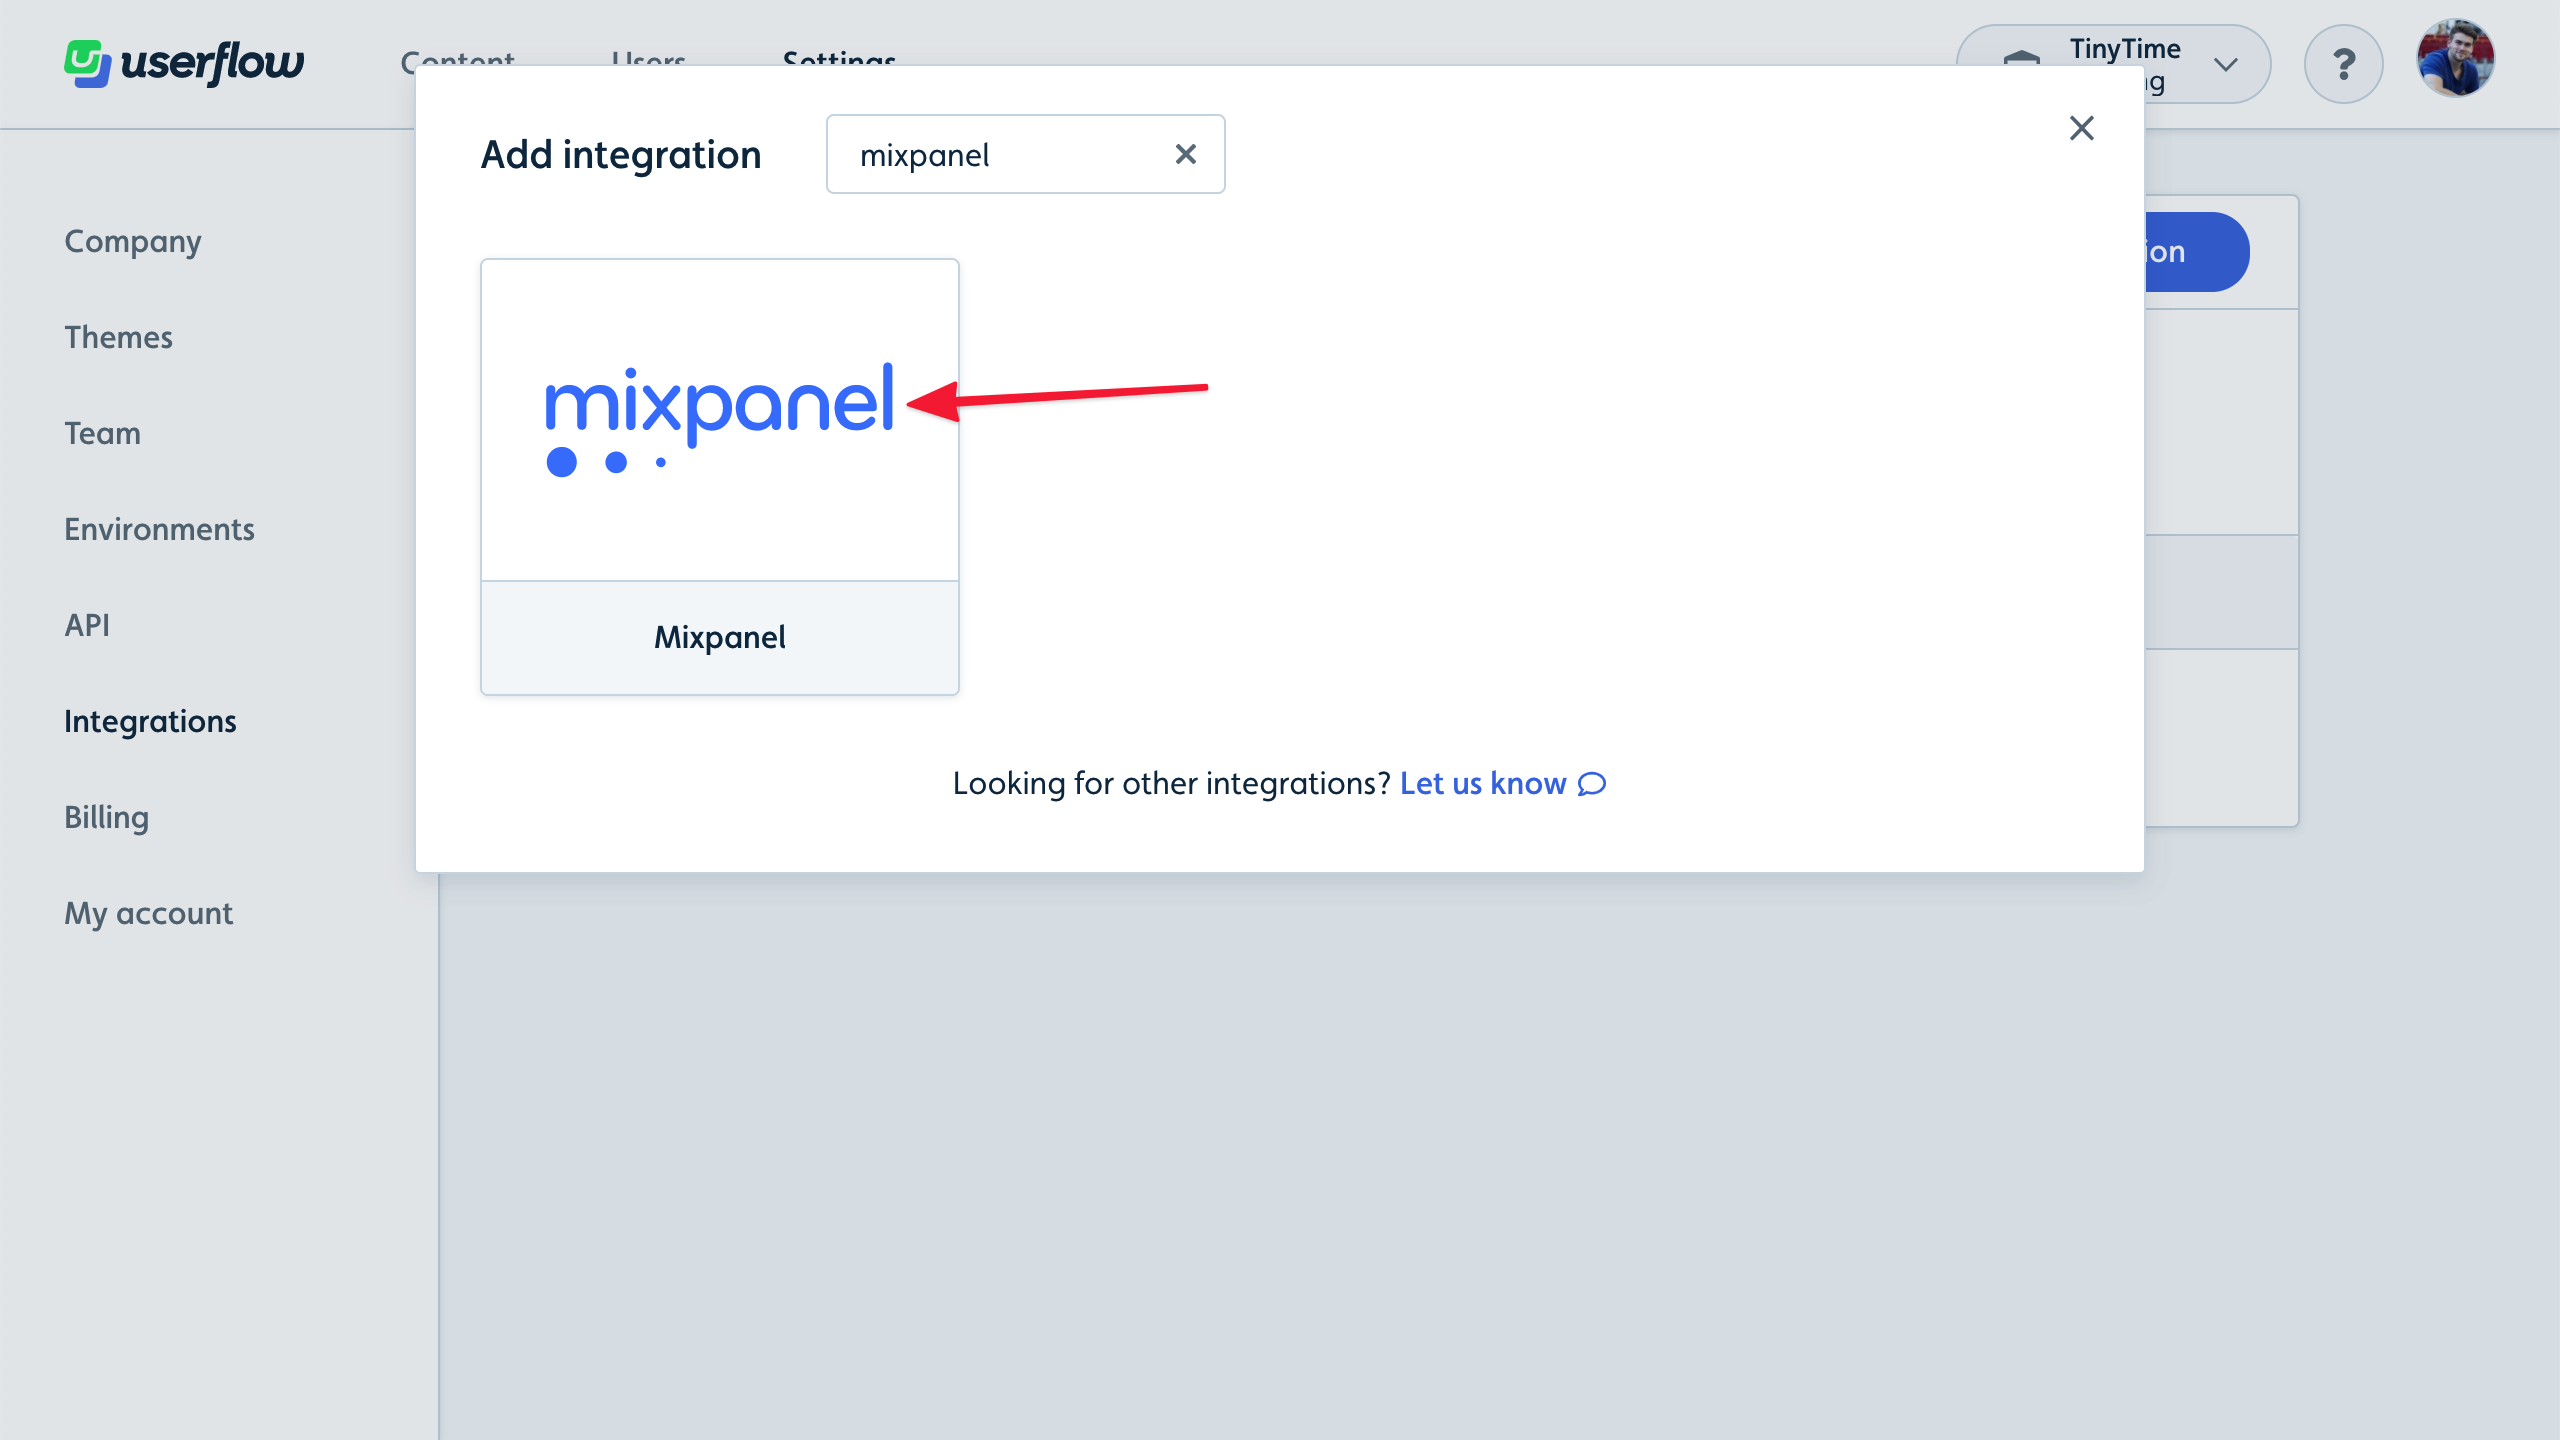
- Find and click Mixpanel in the list:
- Click Add Mixpanel (activate/upgrade your plan if you don’t yet have access):

- Paste the Token that you copied from Mixpanel in step 3 into the Mixpanel Token field and click Save:
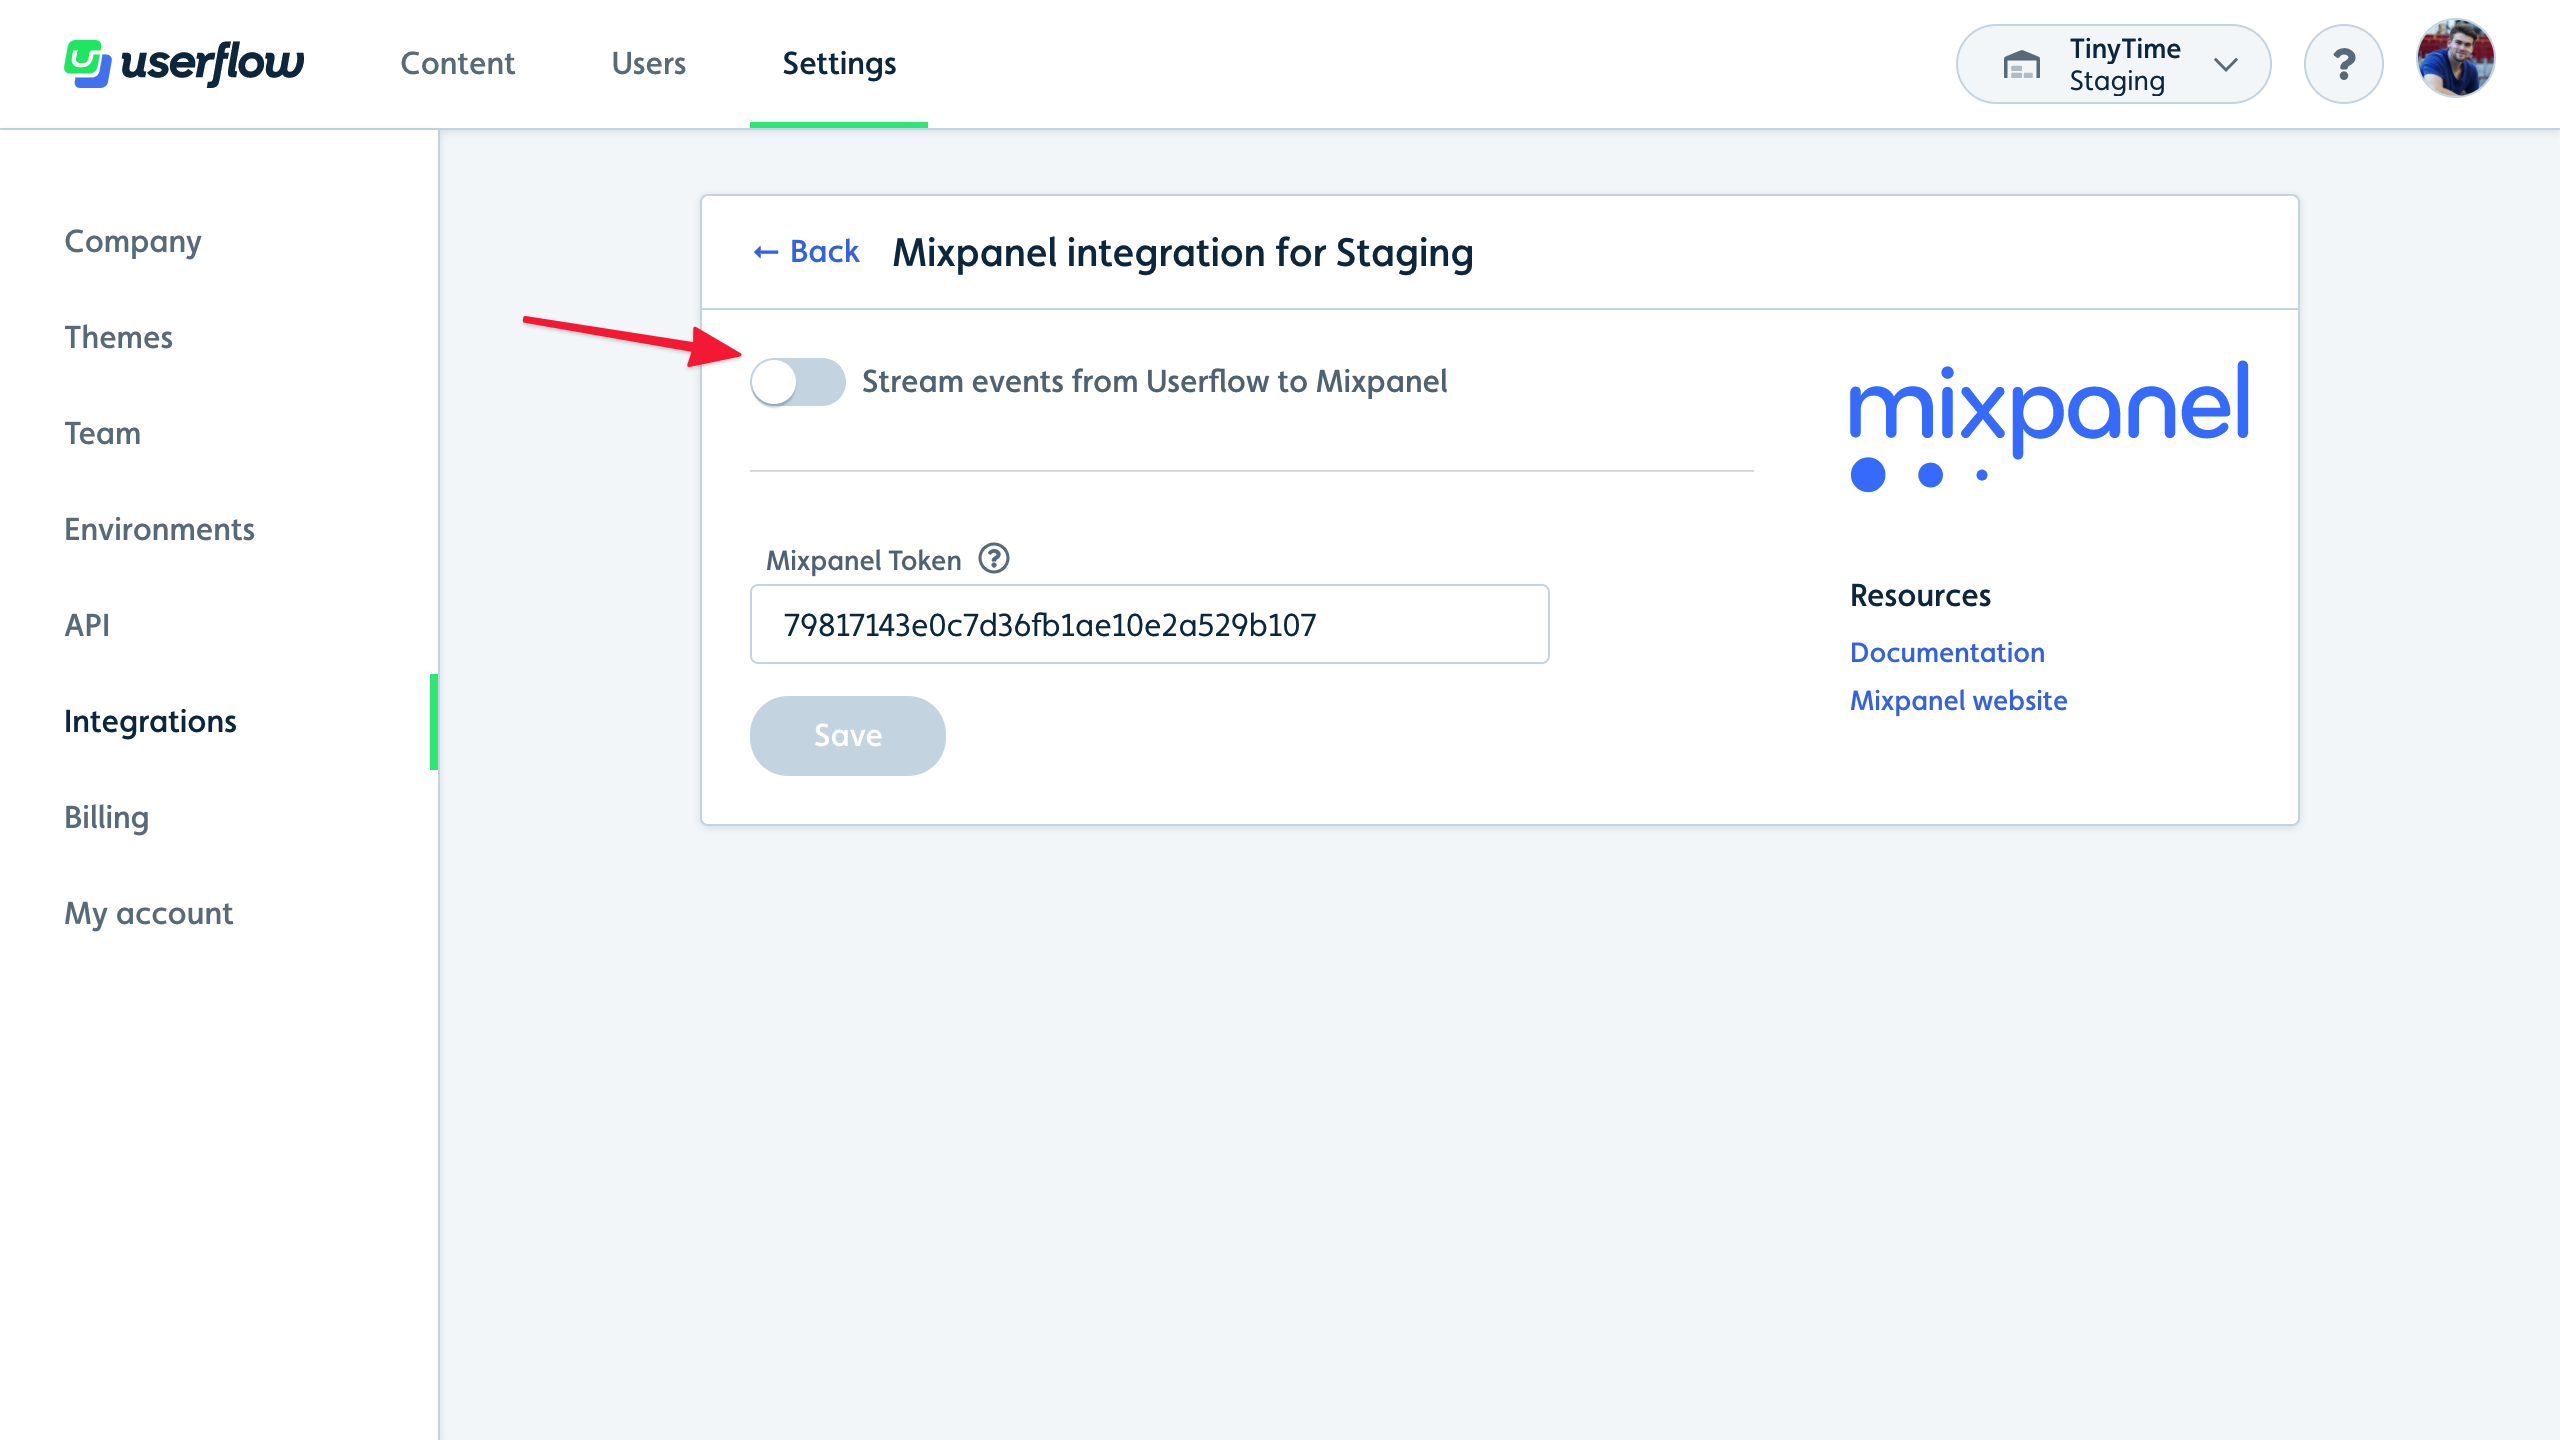
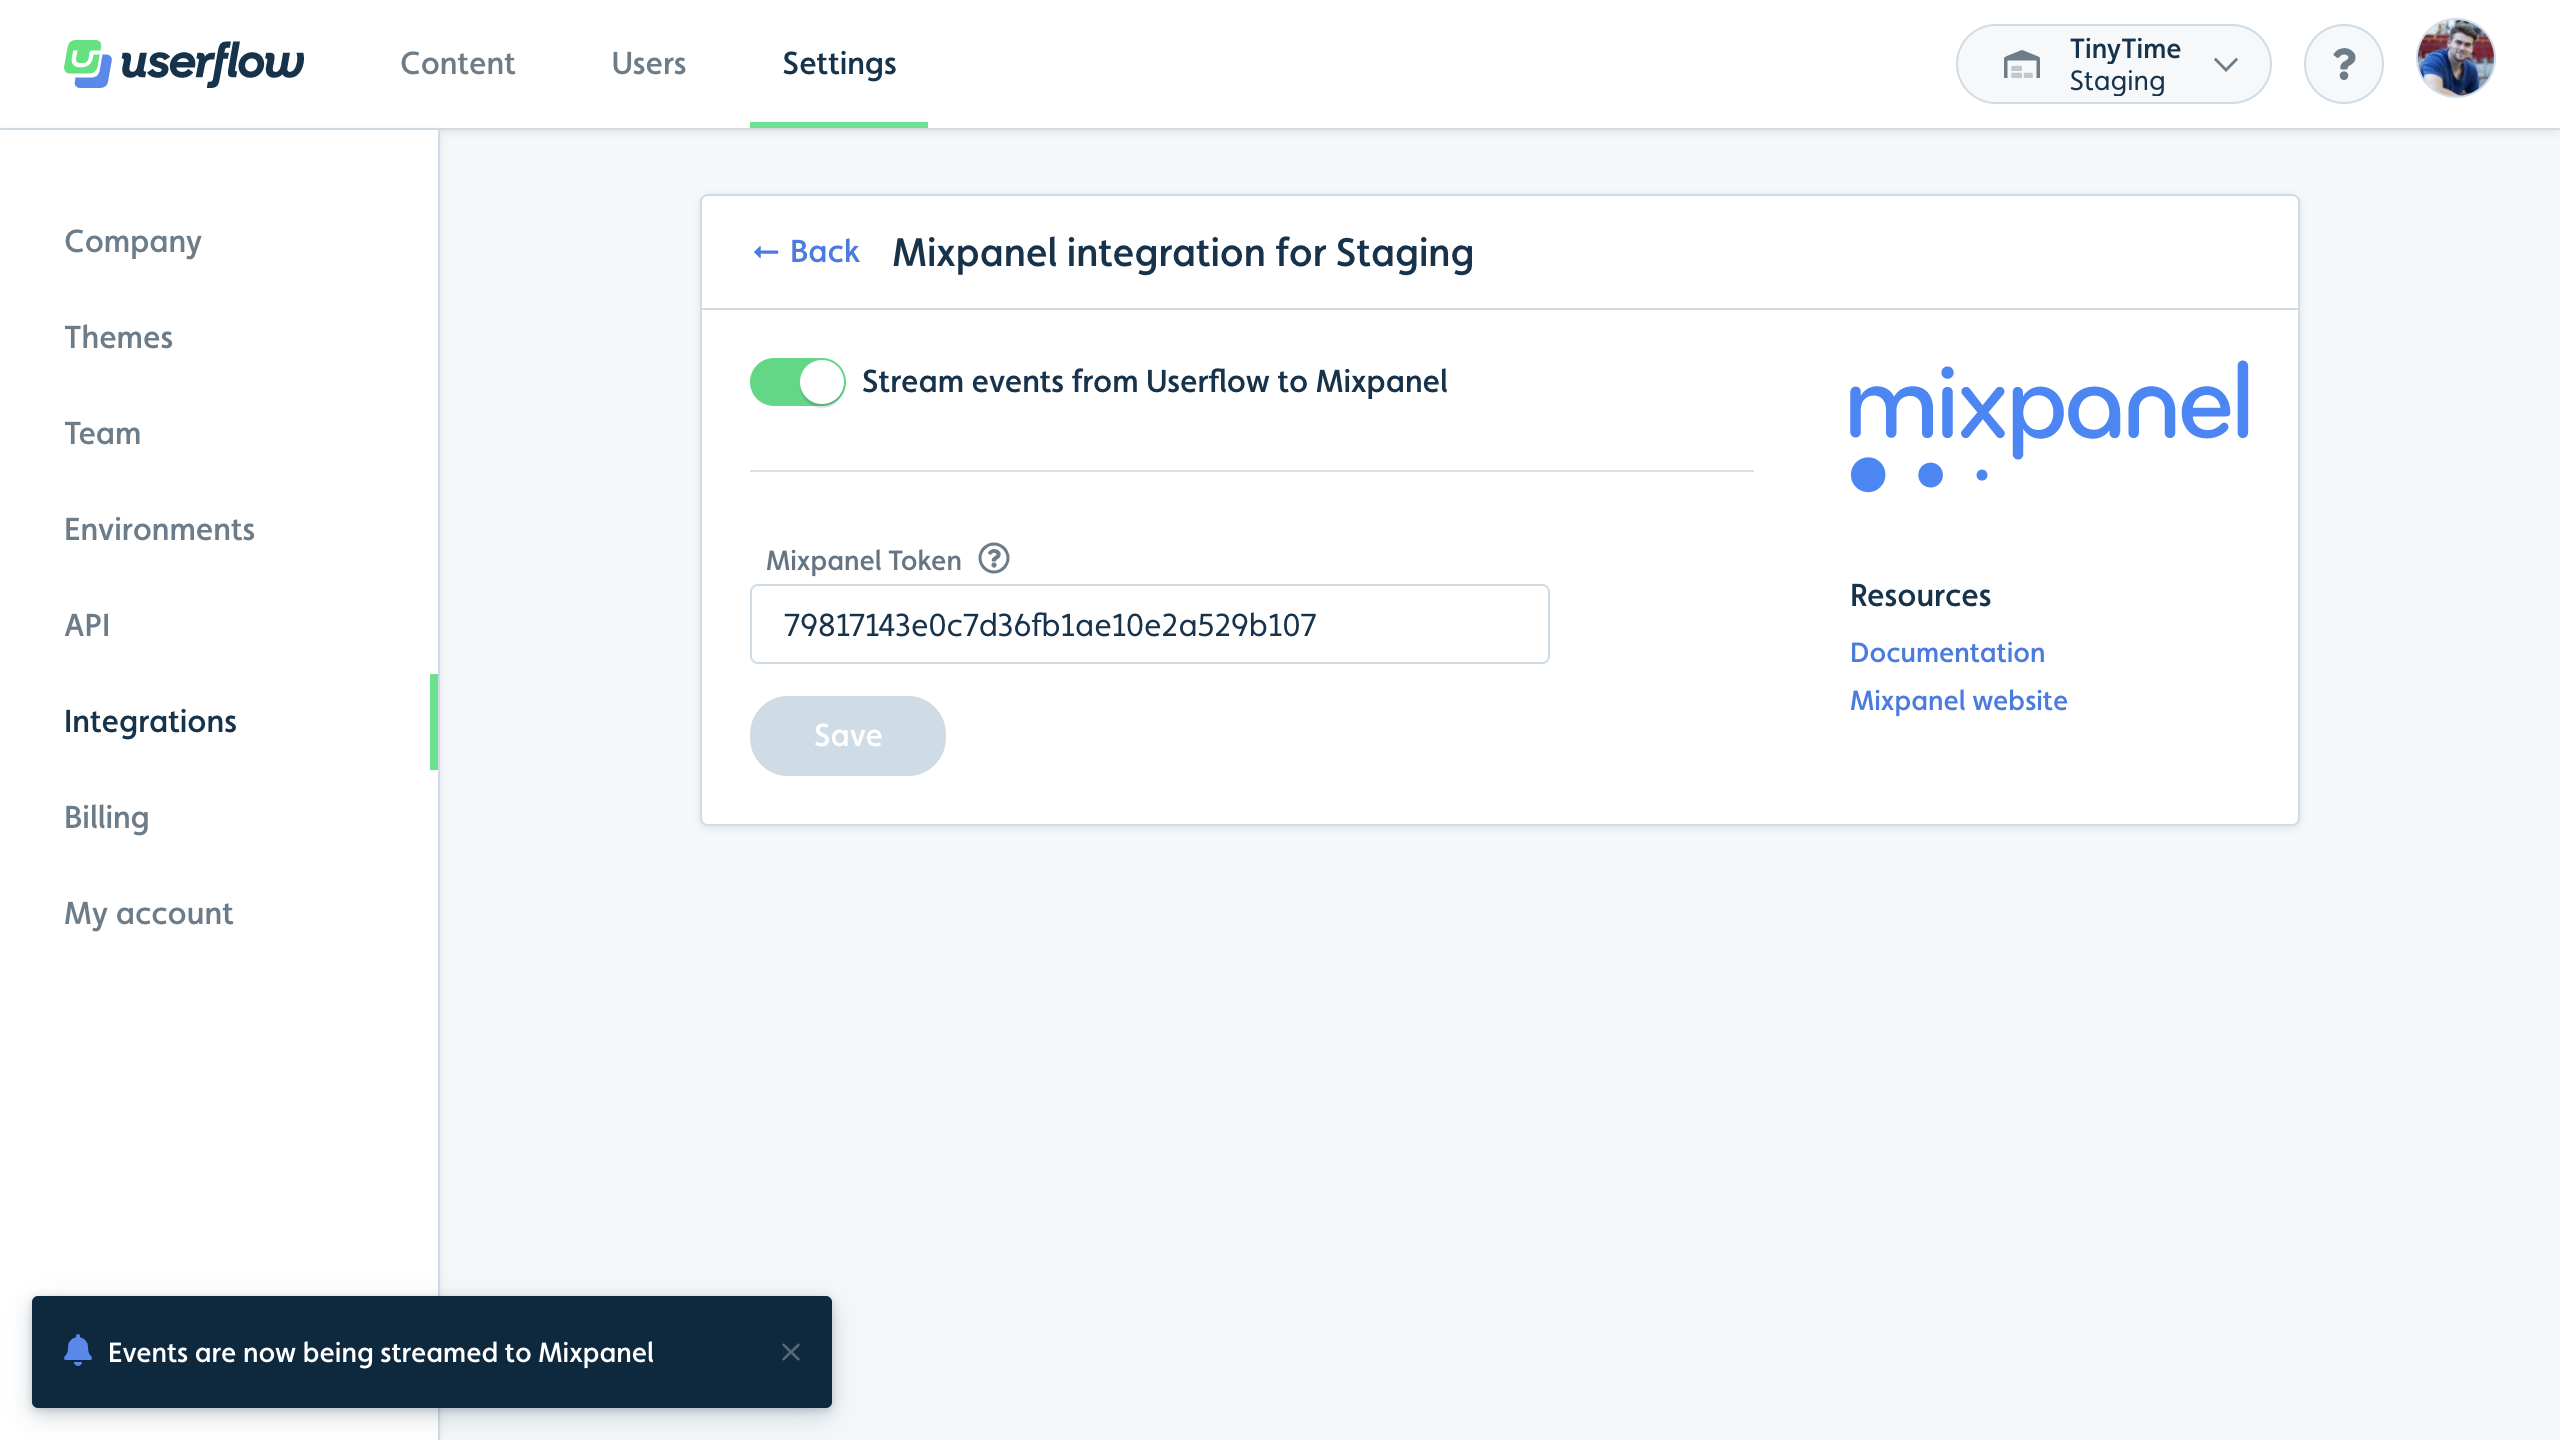
- Click the Stream events from Userflow to Mixpanel switch and confirm in the dialog that appears:
- Event streaming will start immediately:
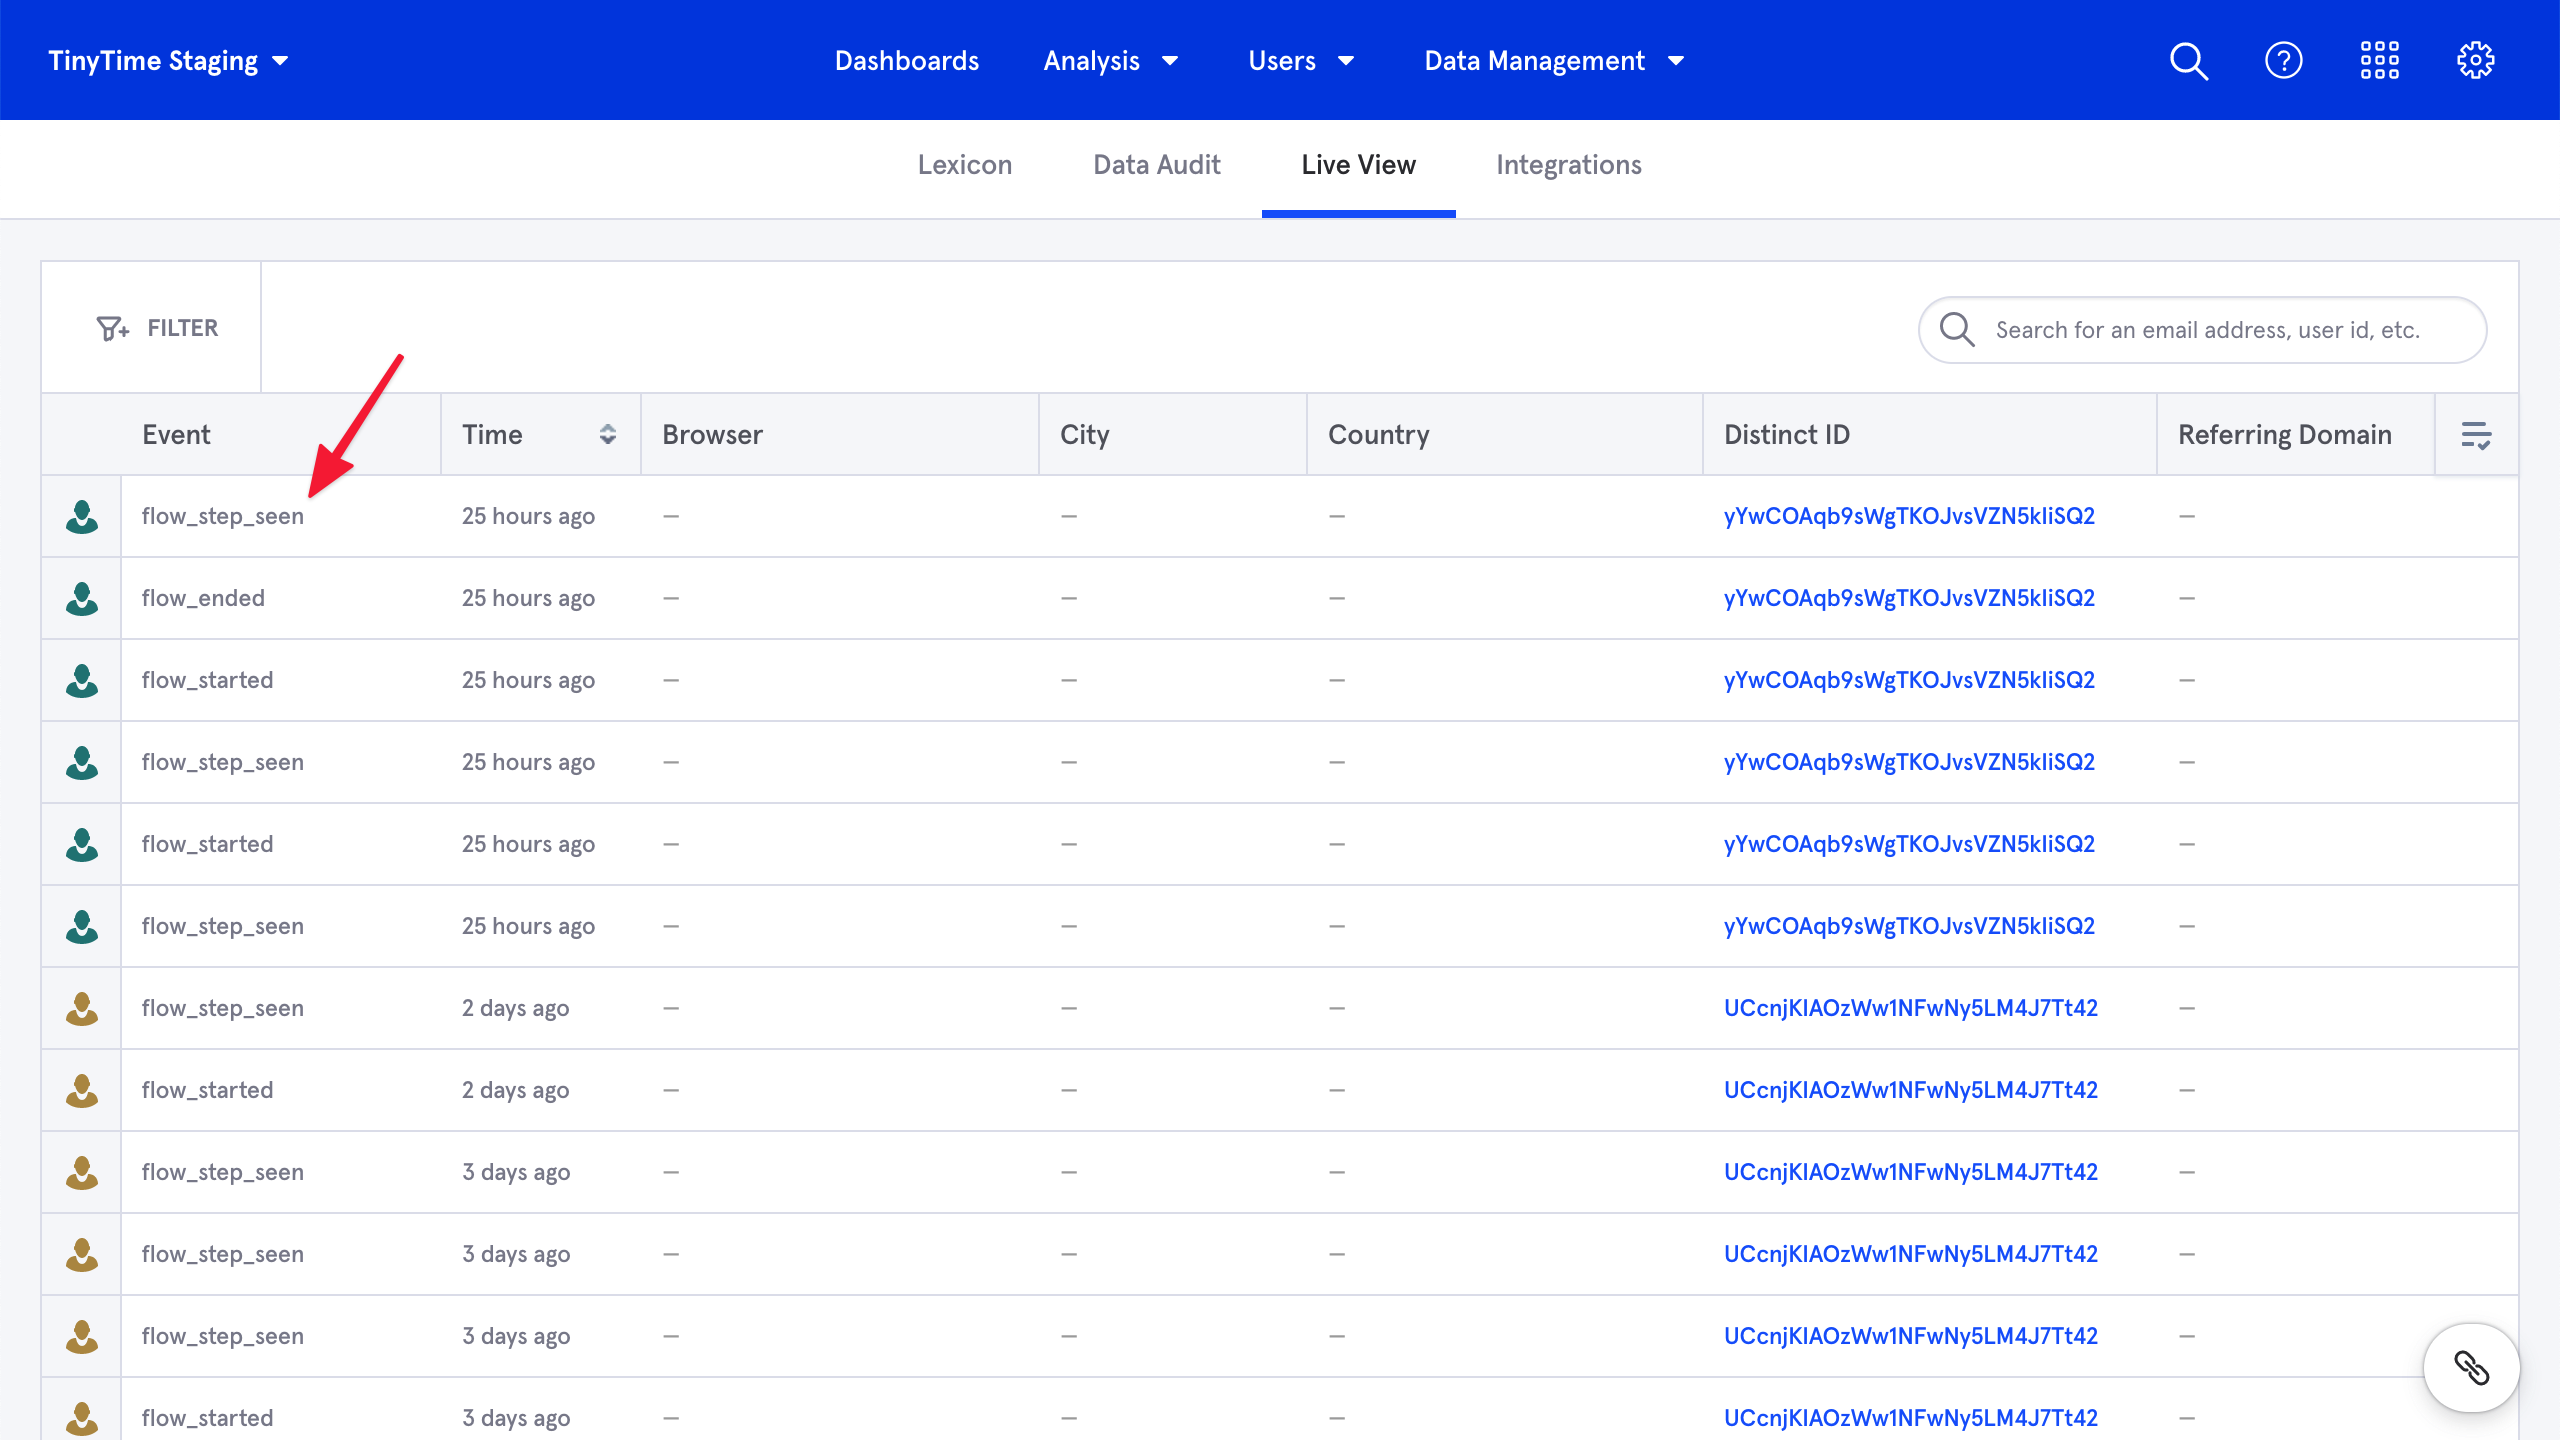
- Go to Mixpanel and navigate to Data management -> Live view:
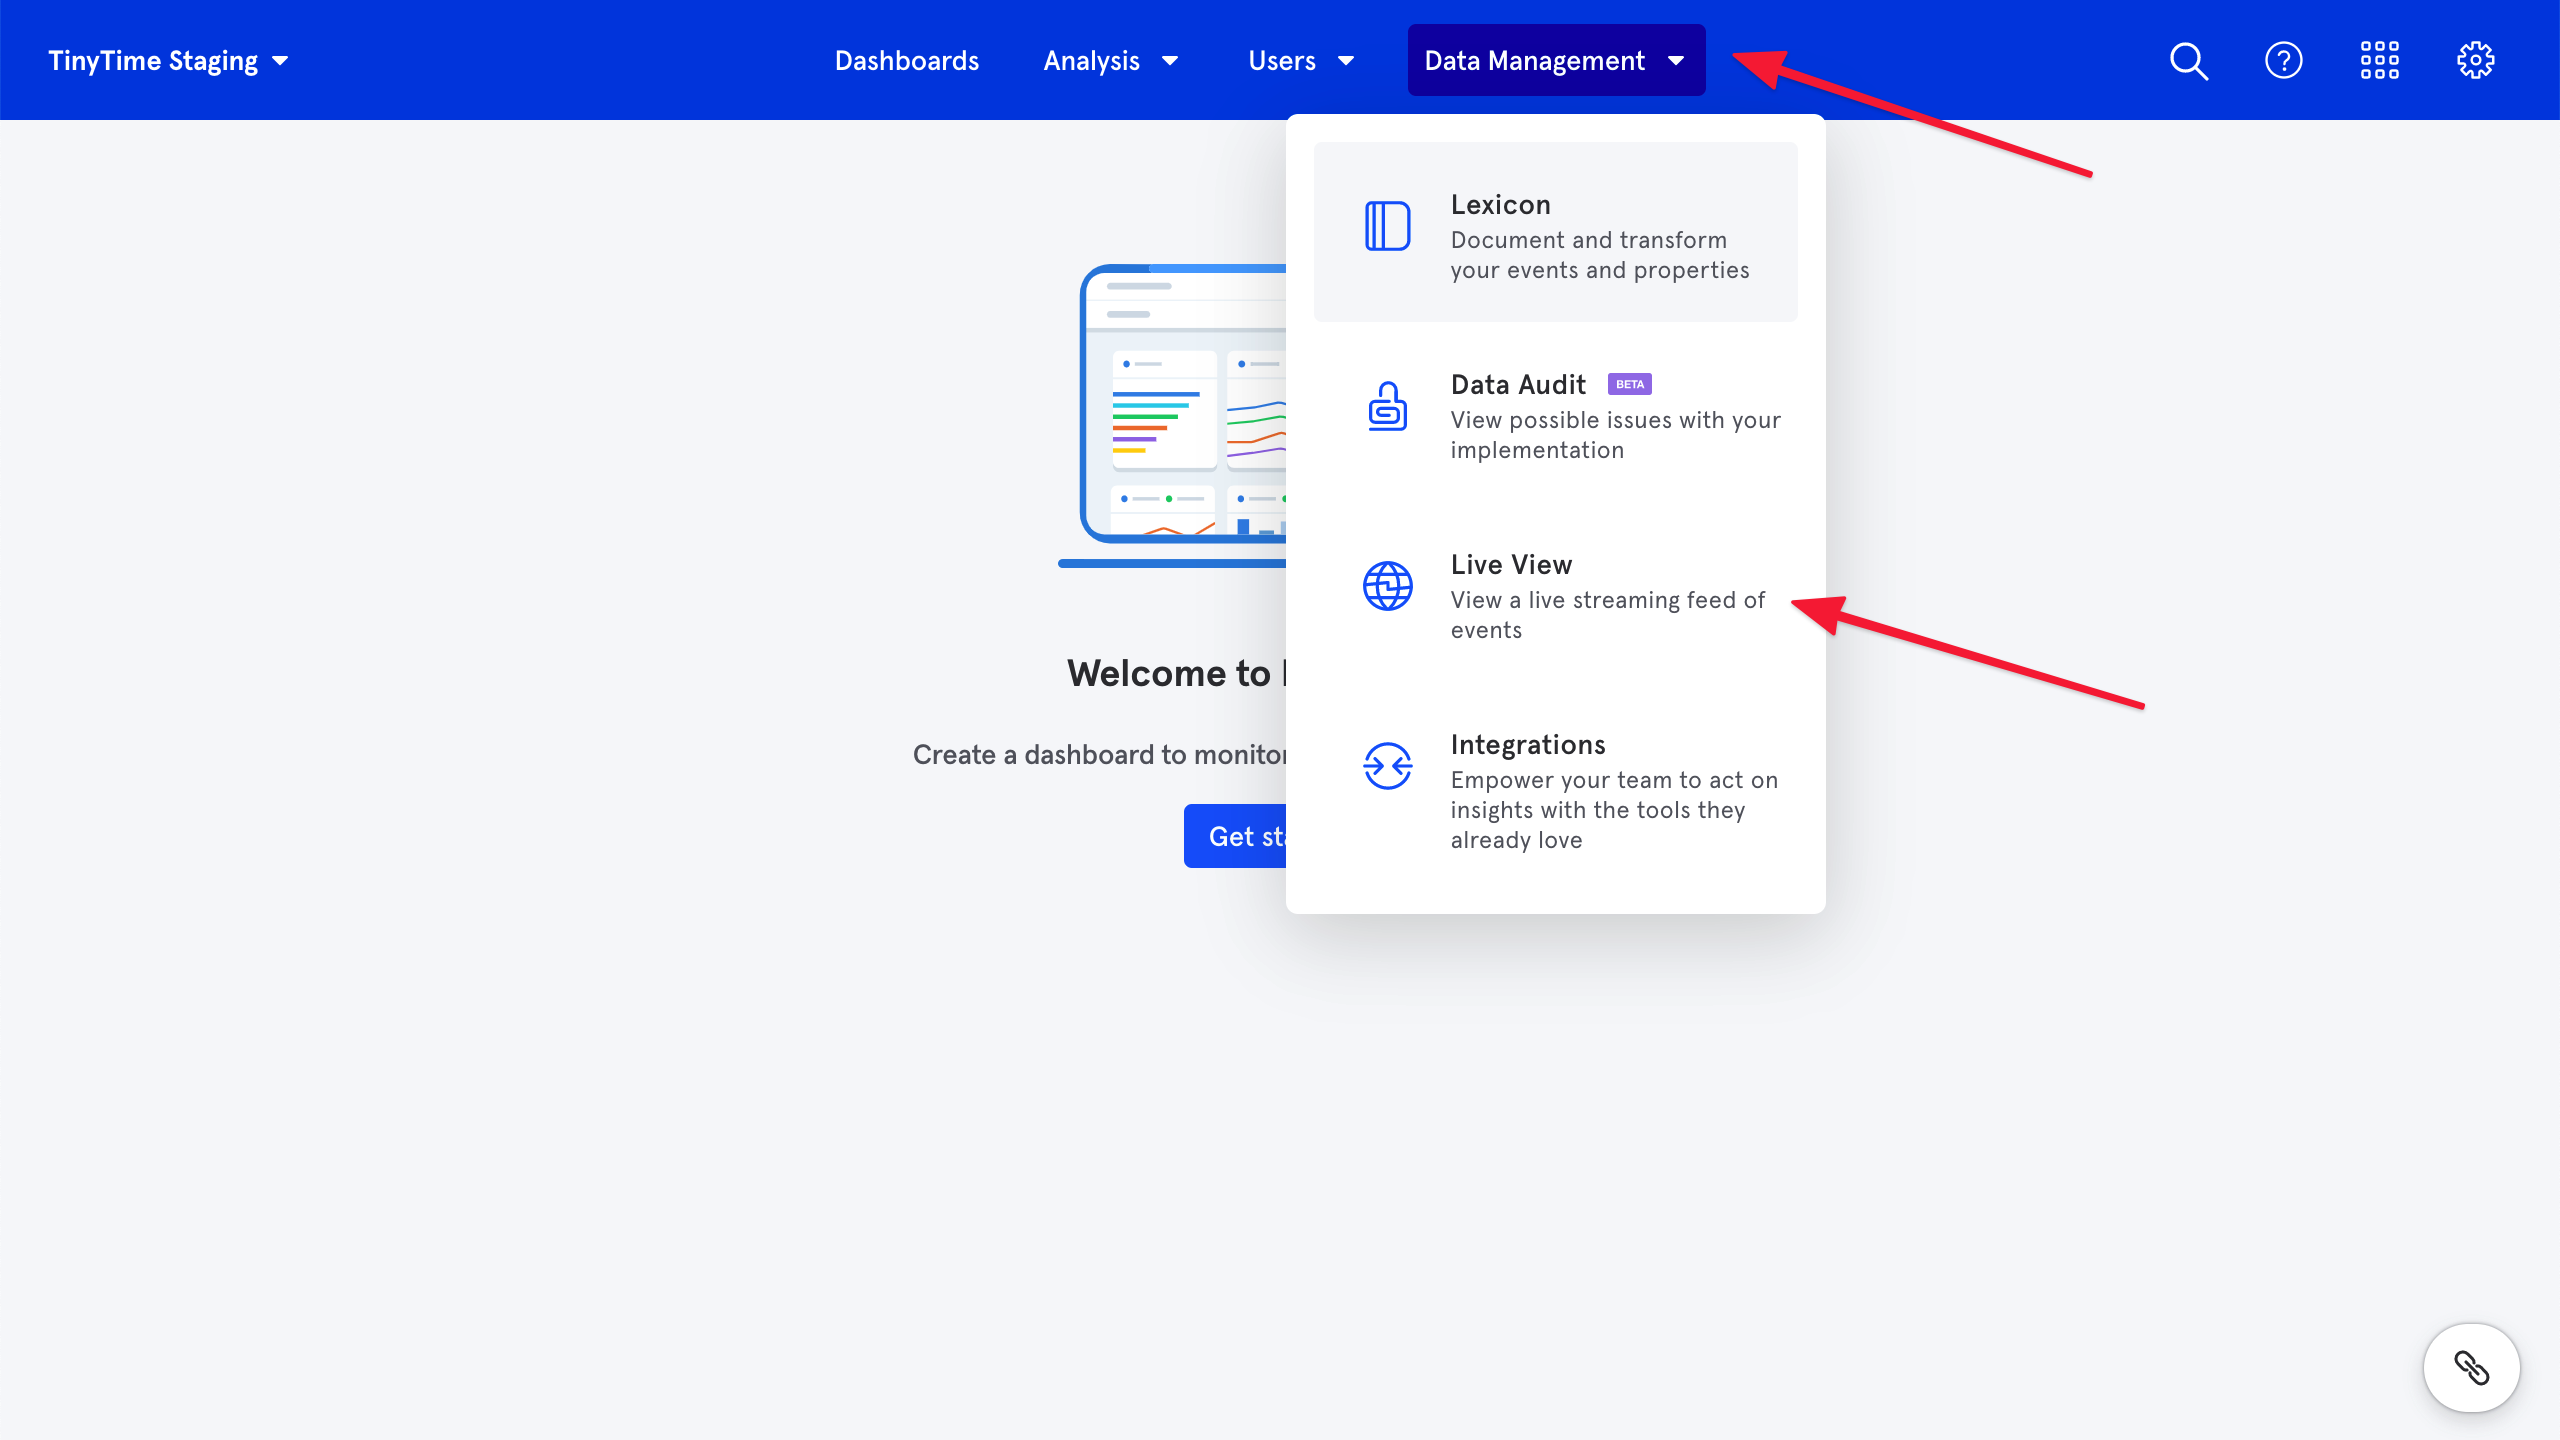
- Verify that Userflow events start showing up. It may take a minute for Mixpanel to show them:
Stopping event streaming
- Find your Mixpanel integration in Userflow under Settings -> Integrations.
- If the Stream events from Userflow to Mixpanel switch is gray, then it’s already stopped. If it’s green, then it’s currently running.
- Click the Stream events from Userflow to Mixpanel switch and confirm in the dialog that appears.
- Event streaming will stop immediately.
Setup guide: Mixpanel cohort sync to Userflow
This feature allows you to continuously sync cohorts from Mixpanel to Userflow segments (we call these lists of users “segments”, while Mixpanel calls them “cohorts”, but they’re the same thing).
- Setup the Mixpanel integration in Userflow as mentioned in the previous section.
- In Userflow, go to Settings → Integrations → Mixpanel.
-
Fill in Mixpanel User ID Property under Mixpanel settings.
- Enter the name of the user property in Mixpanel where you store users’ ID.
-
Example: Type
user_idif your Mixpanel snippet calls something likemixpanel.people.set({user_id: id}), and thisidis the same value your Userflow.js snippet passes touserflow.identify(id). -
If you’re not using a dedicated user ID property in Mixpanel, you may type
mixpanel_distinct_idinto this field, but note that this will use whatever canonical Distinct ID Mixpanel chooses for your user profiles, which may not always be the same value you pass tomixpanel.identify(id)if you have Mixpanel’s Identity Merge feature enabled.
- Click Save.
- Copy the Webhook URL to your clipboard.
- In Mixpanel, navigate to Integrations (under the Data Management icon in the top bar).
- Click and expand Custom Webhook.
- Click Connect under Custom Webhook. If you already have other custom webhooks, you need to expand the dropdown menu on the left and click Add Connection there instead.
- In the Connector Name field, write “Userflow”.
- In the URL field, paste the Webhook URL you copied from Userflow in step #5.
- Under PROPERTIES TO EXPORT, choose the Mixpanel User ID Property you filled into Userflow in step #3.
- Click Continue.
- Navigate to your Cohorts list.
- Click the three-dot button next to the cohort you want to sync to Userflow.
- Hover over Export to…, then click Custom Webhook (Userflow).
- Choose whether you want to do a one-time export or a recurring sync.
- Click Begin sync.
- Once Mixpanel starts syncing (should happen within a few minutes), you’ll be able to see the cohort as a segment on your Users page in Userflow.
