URL pattern matching

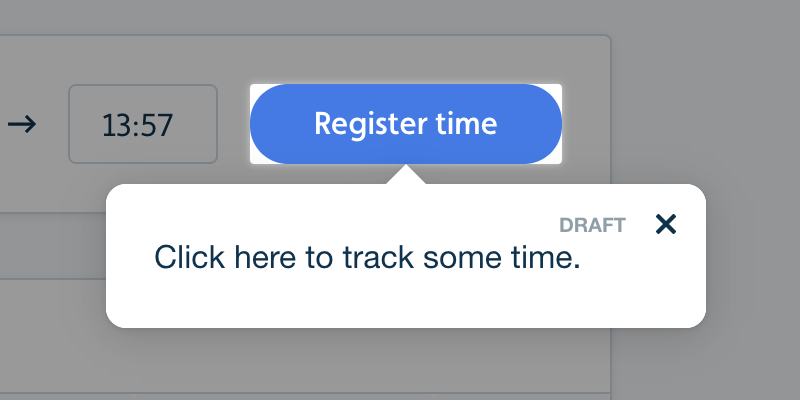
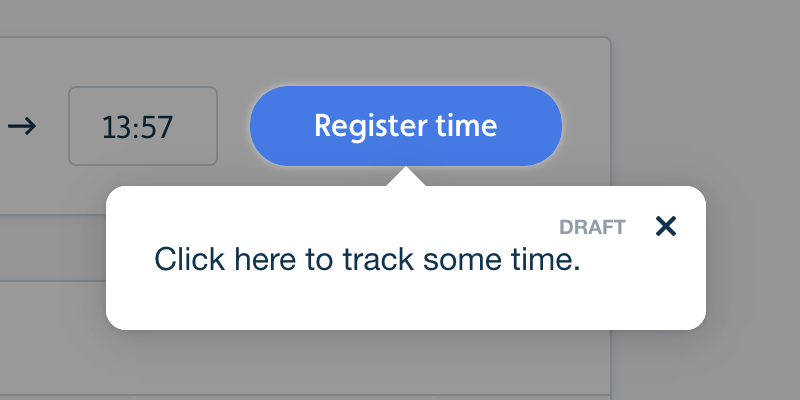
Userflow now has a completely new URL pattern matching feature, which makes it much easier to match pages in your app.

Previously, you had 2 options for matching URLs: 1) Exactly match the full URL (the “is” option), which doesn’t work if part of the URL is dynamic, or 2) match just a fragment of it (the “contains” options), which means it could potentially match wrong URLs, too. If you wanted to match multiple URLS (or exclude other URLs), you had to add multiple “Current page” conditions and fiddle with AND/OR settings.

The new URL pattern matching solves all of these problems! It supports:

  • Wildcards (e.g. /app/*)
  • Single dynamic segments (as in /projects/:id/details)
  • Multiple patterns to include/exclude
  • The option to leave out URL parts that you don’t care about (e.g. /app matches the exact path /app on any domain)
  • Intelligent URL query params handling (?key1=value&key2=value2 will match key1 and key2 individually)
Page condition popover

See the new URL pattern matching guide for more info and examples.

Custom checklist launcher button

Traditionally, when users minimize a checklist, Userflow’s launcher button shows in the corner of the page:

Launcher button

When users click it, the checklist will be shown again.

We now have a couple of controls that let you render your own button to show the checklist.

Here’s how to do it:

  1. In the Checklist builder: Uncheck Show launcher button when minimized in the Checklist settings panel.
  2. Optional: If you want to remove the Dismiss checklist button and prevent users from dismissing the checklist permanently, also check Prevent users from dismissing the checklist.
  3. Add a button in your app with a JavaScript click handler that runs userflow.start(checklistId), where checklistId is the ID of your checklist (find this under the Link/Embed tab).

Customize chrome border color/width

You can now add a border around your Userflow tooltips, speech bubbles and modals. It can work great to make the Userflow UI even more prominent.

Here’s an example of a tooltip with a 2 pixels wide blue border:

Chrome border example

Find the new Chrome border width and Chrome border color under Settings -> Themes -> pick a theme -> Chrome in the accordion menu. “Chrome” is what we call the bubble around the Userflow content.

The tooltip notch (the little arrow) will automatically reflect your border color.

Tooltip backdrop matching round elements

Previously, when using tooltip backdrops, it would look like this if the target had round corners (i.e. using border radius):

Before

Those white areas around the button’s corners were a thorn in the eye.

Userflow now matches the target element’s border radius, making it look much nicer:

Before

Version history

The new Version history tab makes collaborating on flows even better than before!

Version history

Here, you can see:

  • Version history lists all your previous versions. Userflow automatically creates new versions periodically, when you publish, or if multiple users edit the same flow.
  • Environment overview displays the status of each environment, i.e. which version is currently published.
  • Publish history shows a log of when flows were published and by who.

If you click the three-dot icon next to a version, you can:

Version options
  • View its content as it were in the Builder in read-only mode.
  • Compare 2 versions, which lets you inspect changes between 2 versions.
  • Publish it, for example, to revert to a previous version.
  • Restore it in case you want to undo some changes you’ve made.

If you click the three-dot icon next to an environment, you can:

Environment options
  • Publish the latest version if the flow has not been published yet, or there are pending changes.
  • Unpublish, which is useful if you temporarily want to prevent the flow from starting.

Content organization, filters and labels

The Flows page (now called Content) has gotten a major overhaul to make it easier to organize your flows.

Labels

A highly requested feature is the ability to group content based on topics such as user type, life-cycle stage or language. A few Userflow customers already have more than 100 flows!

You can now add your own labels, using the Manage labels button the new filter bar:

Content page

You can see and edit an item’s labels by hovering over or clicking the labels area on the right side of each row:

Label popover

More filters

The new Content page also lets you filter by content type (Flow or Checklist) and whether the items are published, not published or has pending changes. Soon there will also be a built-in Language filter here.

“Flows” -> “Content”

Previously, it was a little confusing that we referred to “Checklists” as “Flows”, too. Going forward, the collective term is “Content”, and under that you have “Flows” and “Checklists”. This makes room for future content types such as “Hotspots” and much more.

Embed Loom videos in your flows

We’ve added support for embedding Loom videos in your flow content.

Putting little screencasts in your flows is a great way of showing new users what a page will look like once they get real data.

Checkmark color

If you haven’t already heard about Loom, I definitely recommend checking it out. It’s a very convenient tool for quickly recording your screen and sharing the video.

How to use:

  • Focus the flow content in the Flow builder to make the rich content toolbar appear
  • Click the + icon
  • Select Video in the dropdown
  • Paste the Loom share link. Example: https://www.loom.com/share/<id>

Customize checkmark color

You can now customize your checklists’ checkmark color. It defaults to a sharp green color.

Find the new option under the Checklist section in the left sidebar on the theme editor page.

Here’s an example from a Userflow customer:

Checkmark color

Start checklists as launcher button

You can now choose whether your checklists should start:

  • Expanded checklist, showing the checklist’s tasks (the current default behavior)
  • Or, the new option, Launcher button, showing just the launcher button (usually with the text “Get started”)

Find the Initially show as section under Checklist settings in the Builder.

Multi-environment support

You can now run multiple environments - such as Production and Staging - under the same Userflow account. This makes it possible to test flows in your Staging environment before publishing them to Production.

Setting up environments

All Userflow accounts start out with a single environment, named “Production”. Under Settings -> Environments, you can add additional environments, such as “Staging”.

Once you add an extra environment, you’ll see a new Environment menu in the top right, which you can use to switch between your environments:

Environment switcher

Each environment has its own Userflow.js Token (the one you supply to userflow.init()) and its own API keys.

Isolated user data

User data, including events and flow sessions, are completely isolated between environments. This means that your Staging users will not interfere with your Production analytics.

When you look at e.g. the Users tab, it’ll only show users in the currently selected environment.

Publish flows to individual environments

Flows, on the other hand, are shared between environments. If you have multiple environments, you can publish a flow to specific environments only. When you click Publish in the Flow Builder, you’ll now see this:

Publish dialog

Simply check the checkbox next to each environment you want to publish to. Unchecked environments will stay on their current version.

Example use case:<br/>Test in staging before publishing to production

  1. Create a new flow.
  2. Add some content to it.
  3. Click Publish in the Flow Builder to open the publish flow dialog. Check only your Staging environment. Click Publish in the dialog footer.
  4. Go to your staging environment (in your own app) and try out the flow.
  5. Optionally, repeat steps 2-4 as necessary.
  6. Once you’re happy with your flow, click Publish in the Flow Builder again. Now also check Production. Click Publish in the dialog footer.
  7. Your real production users can now see the flow.